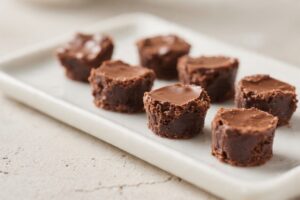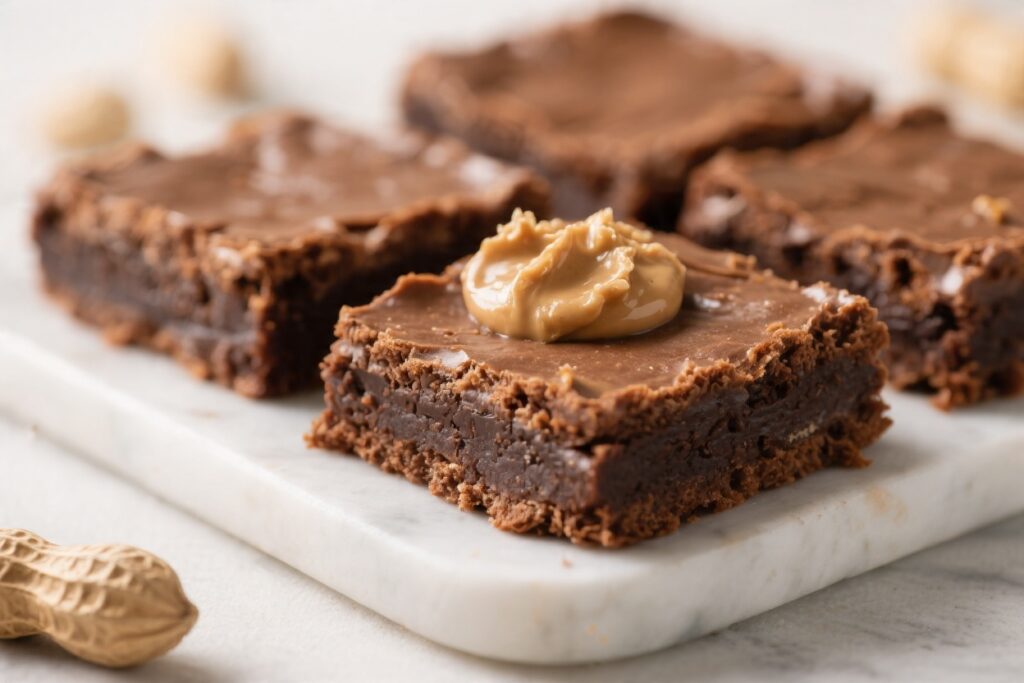
These brownies are the kind you make once and then keep making forever. They’re fudgy, deeply peanut-buttery, and shockingly simple—just five ingredients you probably already have. No mixers, no fuss, no weird steps that complicate your day.
Just stir, bake, and enjoy. If you’re craving something sweet with minimal effort, this is your go-to recipe.
What Makes This Recipe So Good
These brownies hit that perfect spot between chewy and fudgy, with a bold peanut butter flavor in every bite. The ingredient list is short, but the taste is anything but simple.
You don’t need special equipment or fancy chocolate—just a bowl, a spoon, and a pan. They’re also easy to scale up or down, and they freeze well for later. Whether you’re baking for a crowd or a weeknight treat, these brownies deliver.
Keeping It Fresh
Store brownies in an airtight container at room temperature for 3–4 days. They’ll stay soft and fudgy if you keep them well covered.
If your kitchen runs warm, refrigerate them and let them sit out for a few minutes before eating. For longer storage, wrap individual squares tightly and freeze for up to 2 months. Thaw at room temperature or give them a quick 10–15 seconds in the microwave.
Benefits of This Recipe
- Minimal ingredients, maximum payoff: Five simple items make rich, bakery-level brownies.
- Gluten-free friendly: There’s no flour here, so it’s naturally flourless as long as your cocoa and vanilla are gluten-free.
- Quick cleanup: One bowl, one pan.
That’s it.
- Customizable: Easy to tweak sweetness, texture, and add-ins.
- Budget-smart: Pantry staples create a crowd-pleasing dessert without pricey chocolate bars.
What Not to Do
- Don’t use natural peanut butter that separates. The oil separation can lead to greasy, dense brownies. Choose a no-stir, creamy brand.
- Don’t overmix after adding cocoa. Stir just until combined to keep the texture fudgy.
- Don’t overbake. Dry edges or a crumbly center mean they went too long. Pull them when they’re set on top with moist crumbs on the tester.
- Don’t skip the cooling time. They need a short rest to firm up for clean slices and the best texture.
- Don’t pack the cocoa. Spoon and level it, or whisk to remove lumps before adding.
Recipe Variations
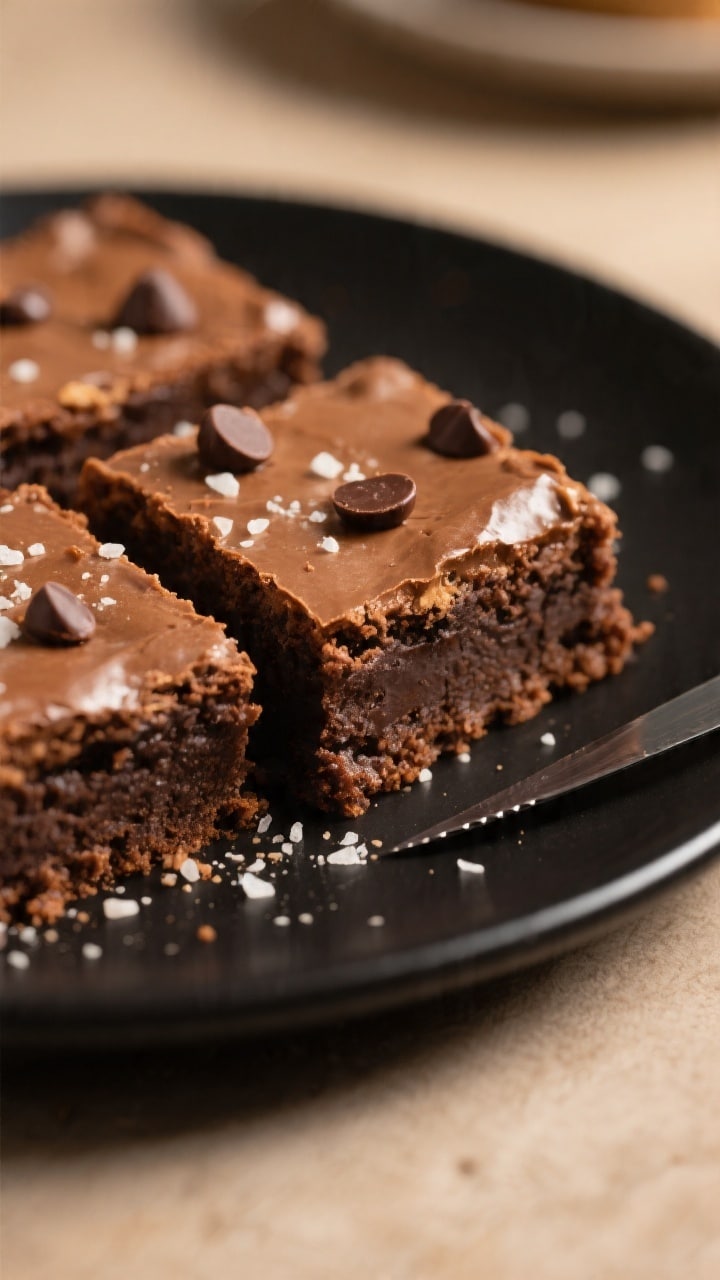
- Chocolate Chip Swirl: Fold in 1/2 cup semi-sweet chips or press a handful on top before baking.
- Salted Crunch: Add 1/3 cup chopped roasted peanuts and finish with flaky sea salt after baking.
- Espresso Boost: Whisk in 1 teaspoon instant espresso powder with the cocoa to deepen the chocolate notes.
- Almond Twist: Swap peanut butter for creamy almond butter (no-stir).
Add a splash of almond extract if you like.
- Maple Vanilla: Replace 2–3 tablespoons of the sugar with pure maple syrup. Expect a slightly softer crumb.
- Double Cocoa: Bump cocoa to 1/2 cup and add 1 extra tablespoon sugar for a darker, richer brownie.
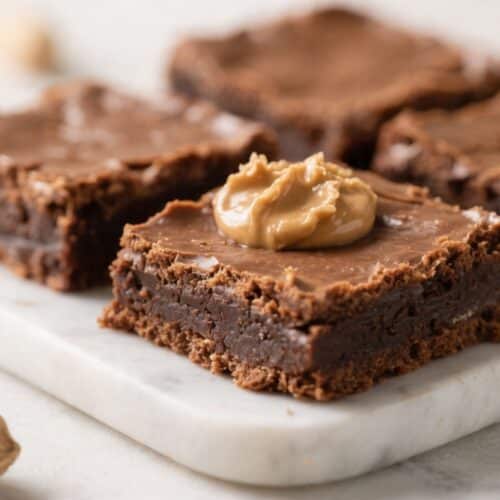
- Peanut Butter Ribbon: Warm 2 tablespoons peanut butter and drizzle lines over the batter. Drag a knife through for a marbled top.
5 Ingredient Peanut Butter Brownies – Rich, Chewy, and Ridiculously Easy
Ingredients
- Creamy peanut butter (not natural; a no-stir variety works best)
- Granulated sugar
- Eggs
- Cocoa powder (unsweetened)
- Vanilla extract
Instructions
- Preheat your oven to 350°F (175°C).Line an 8×8-inch baking pan with parchment paper, leaving some overhang for easy lifting. Lightly grease the paper for clean edges.
- In a medium bowl, whisk together 1 cup granulated sugar and 2 large eggs until glossy and slightly thick, about 30–45 seconds. This helps the brownies set with a fudgy bite.
- Add 1 cup creamy peanut butter and 1 teaspoon vanilla extract.Stir until completely smooth and no streaks remain.
- Sift or whisk in 1/3 cup unsweetened cocoa powder. Fold gently until just combined. The batter will be thick—this is good.If adding chips or nuts, fold in up to 1/2 cup now.
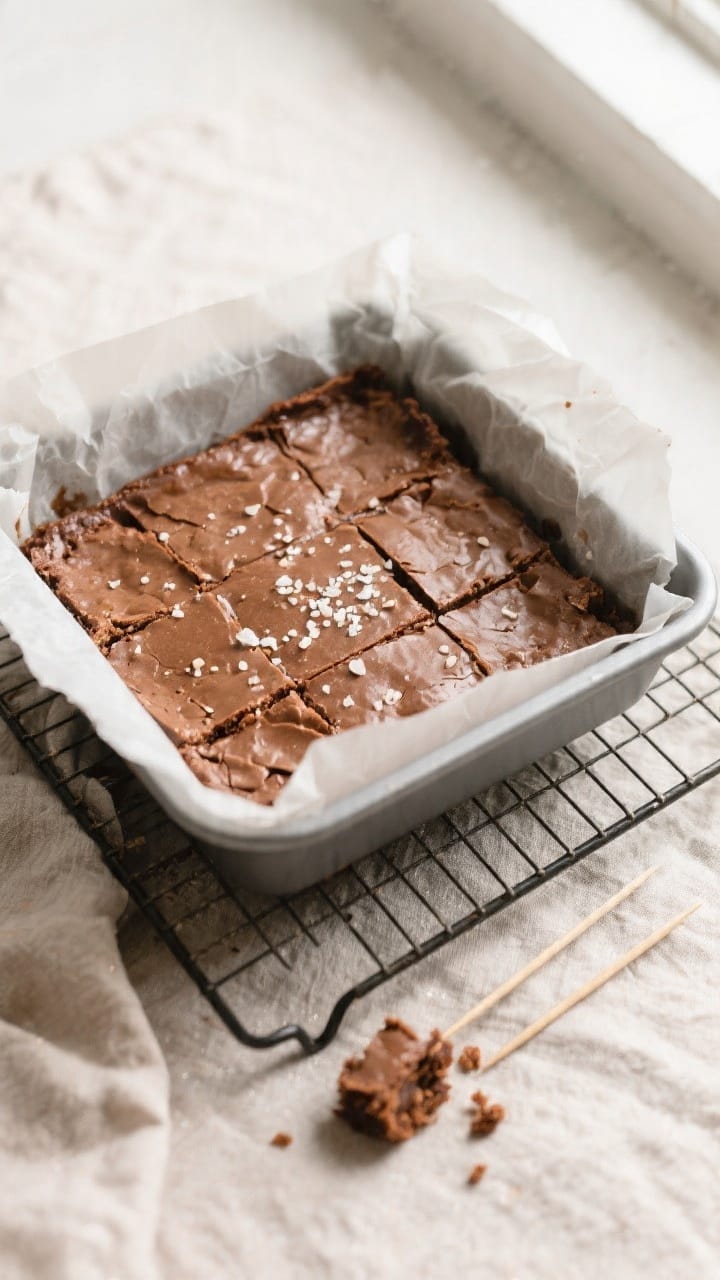
- Spread the batter evenly in the prepared pan. For tidy edges, press it into the corners with a spatula. If you like, sprinkle a pinch of flaky sea salt on top.
- Bake for 20–24 minutes, or until the top looks set and a toothpick inserted near the center comes out with a few moist crumbs.Avoid overbaking.
- Cool the pan on a rack for at least 30 minutes. Lift the brownies out using the parchment, slice into squares, and enjoy.
FAQ
Can I use natural peanut butter?
You can, but results vary.
Natural peanut butter that separates can make the brownies oily or crumbly. If using it, stir very well and add 1–2 extra teaspoons of sugar to balance. For most consistent results, stick to a no-stir, creamy peanut butter.
How do I know when the brownies are done?
Look for a set, slightly glossy top and a toothpick that comes out with moist crumbs but not wet batter.
Start checking at 20 minutes. They’ll continue to firm up as they cool.
Can I reduce the sugar?
Yes, but don’t cut it too much or the texture may suffer. Reducing by about 2–3 tablespoons still gives a good result.
If you go lower, the brownies may be drier and less fudgy.
What pan size works best?
An 8×8-inch pan gives the ideal thickness and bake time. A 9×9 pan will produce thinner brownies and may bake a few minutes faster. For a loaf pan, bake longer and watch closely.
Can I make these dairy-free?
Yes.
There’s no butter or milk in the base recipe, so they’re naturally dairy-free as long as your chocolate add-ins (if any) are dairy-free.
Why is my batter so thick?
It’s supposed to be thick. That’s what helps these stay fudgy. Use a spatula to spread it evenly into the corners of the pan.
If it feels too stiff, warm the peanut butter slightly next time before mixing.
Do I need baking powder or soda?
No leavening is needed. The eggs provide structure, and the result is chewy-fudgy rather than cakey.
How should I cut clean slices?
Cool for at least 30 minutes, then use a sharp, warm knife, wiping the blade between cuts. Lifting the slab out by the parchment first makes slicing easy.
Can I double the recipe?
Absolutely.
Use a 9×13-inch pan and add a few minutes to the bake time. Start checking at 24 minutes and look for the same moist-crumb test.
What cocoa powder is best?
Any unsweetened cocoa works. Natural cocoa gives a brighter chocolate flavor, while Dutch-process yields smoother, darker notes.
Use what you have and enjoy.
In Conclusion
These 5 ingredient peanut butter brownies prove that simple can taste spectacular. With one bowl and a few pantry staples, you get rich, chewy bars that feel special without the work. Keep the basic formula, then tweak it to your taste with chips, nuts, or a pinch of sea salt.
Once you try them, you’ll want a batch on standby for every craving and every occasion.