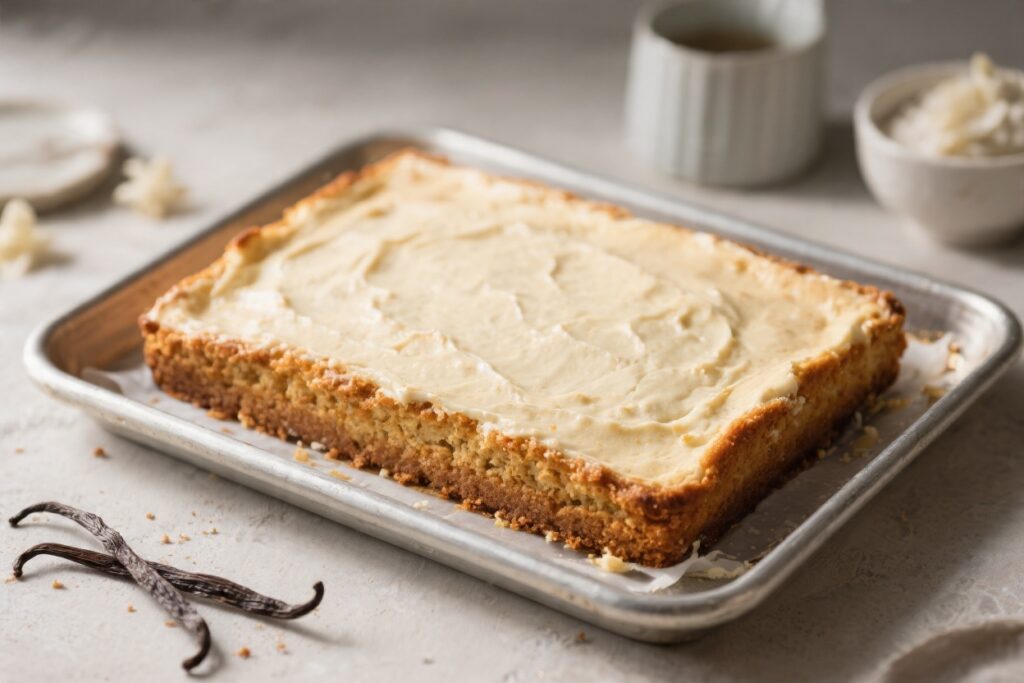
This is the kind of bake you make when you want something sweet, soft, and unfussy. Five ingredients, one bowl, and a tray—nothing more. The crumb is tender, the vanilla is warm and comforting, and it slices cleanly into neat squares.
It’s perfect for school lunches, afternoon tea, or a last-minute dessert. If you love classic, no-fuss baking, this vanilla traybake will be your new go-to.
What Makes This Recipe So Good
This traybake proves that simple baking doesn’t have to be boring. With just five everyday ingredients, you get a cake that’s soft, buttery, and full of vanilla flavor.
There’s no complicated technique here—just mix, bake, and slice.
- Ridiculously easy: One bowl, minimal cleanup, and no special equipment.
- Reliable texture: Moist crumb that stays soft for days.
- Flexible serving: Cut into squares, bars, or rectangles for any occasion.
- Budget-friendly: Pantry staples only—no fancy add-ins required.
- Perfect base: Add sprinkles, a quick icing, or fresh fruit if you want to dress it up.
How to Store
- Room temperature: Store in an airtight container for 3–4 days.
Keep out of direct sunlight.
- Freezer: Wrap individual squares tightly and freeze for up to 2 months. Thaw at room temperature for 1–2 hours.
- Fridge: Not necessary, but if your kitchen is very warm, refrigerate in an airtight container. Bring to room temperature before serving for the best texture.
Benefits of This Recipe
- Time-saving: Ready to bake in minutes, with a forgiving batter.
- Kid-friendly: Familiar flavor and easy to portion for lunches or parties.
- Beginner-proof: No tricky steps or unusual techniques.
- Scalable: Double the recipe for a larger crowd or halve it for a smaller tin.
- Customizable: Works as a base for glazes, jams, sprinkles, or fruit.
Pitfalls to Watch Out For
- Overmixing: Once the flour goes in, fold gently.
Overmixing can make the cake tough.
- Cold ingredients: Use room-temperature butter and eggs for a smoother batter and even rise.
- Wrong tin size: A smaller tin will make the cake too thick and underbaked in the middle. Stick to a 9×13-inch tray for best results.
- Overbaking: Check from 22 minutes. A dry traybake is usually the result of a few extra minutes in the oven.
- Low-quality vanilla: With so few ingredients, the vanilla matters.
Use a good extract, not essence if you can.
Alternatives
- Dairy-free: Swap butter for a quality dairy-free baking spread. Ensure it’s suitable for creaming and has around 75–80% fat.
- Gluten-free: Use a 1:1 gluten-free self-raising flour blend. Add 1 tablespoon milk if the batter seems dry.
- Lemon twist: Replace 1 teaspoon vanilla with 1 teaspoon lemon extract and add the zest of 1 lemon.
- Vanilla glaze: Stir 150 g icing sugar with 2–3 tablespoons milk and 1/2 teaspoon vanilla.
Drizzle over cooled cake.
- Funfetti: Fold 2–3 tablespoons rainbow sprinkles into the batter just before baking.
- Berry layer: Spread 3–4 tablespoons raspberry jam over the cooled cake and finish with shredded coconut.
5 Ingredient Vanilla Traybake – Simple, Soft, and Crowd-Friendly
Ingredients
- Unsalted butter – 200 g (softened)
- Caster sugar – 200 g
- Eggs – 4 large (room temperature)
- Self-raising flour – 250 g
- Vanilla extract – 2 teaspoons (good quality)
Instructions
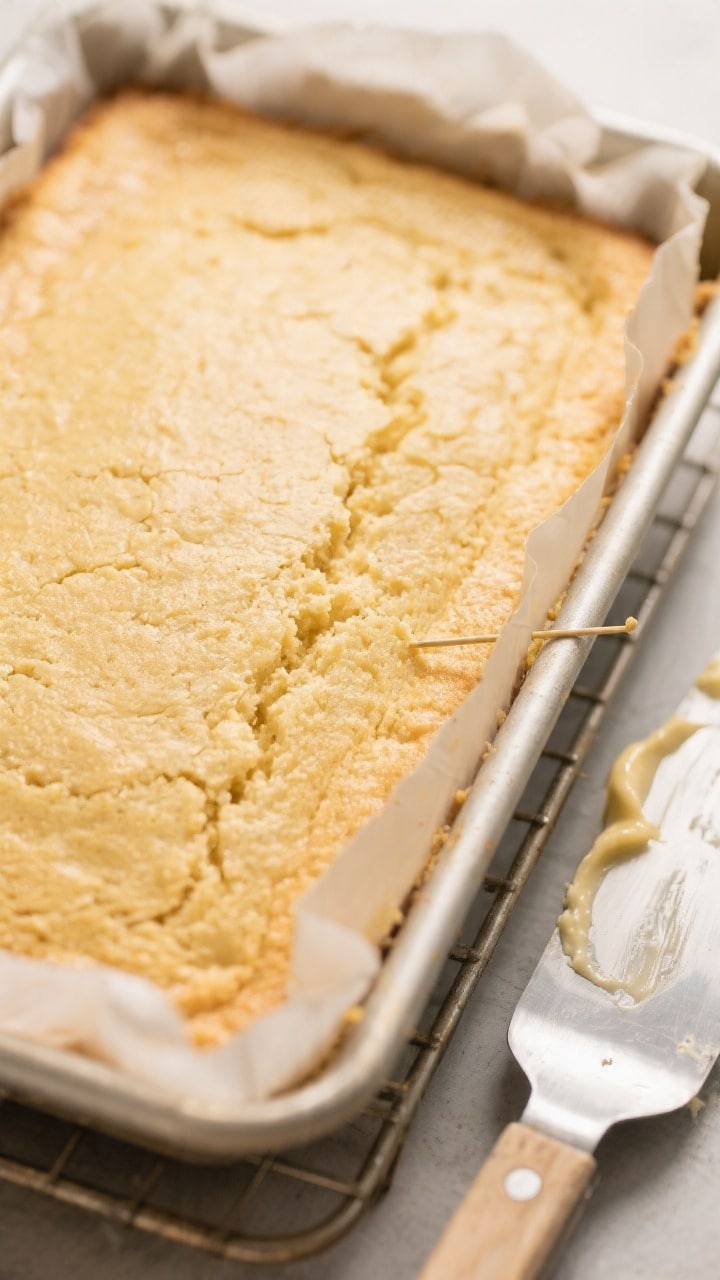
- Prep the tin. Line a 9×13-inch (23×33 cm) traybake tin with baking paper, leaving an overhang for easy lifting. Lightly grease the sides.Heat the oven to 170°C (150°C fan) or 340°F.
- Cream butter and sugar. In a large bowl, beat the softened butter and caster sugar together until pale and fluffy, about 2–3 minutes with an electric mixer. This traps air and helps the cake rise evenly.
- Add the eggs. Beat in the eggs one at a time, mixing well after each addition. If the mixture looks slightly curdled, don’t worry—it will come together once the flour is added.
- Mix in vanilla. Add the vanilla extract and beat briefly to combine.If using a pinch of salt, add it now.
- Fold in flour. Sift the self-raising flour over the bowl. Gently fold it in with a spatula until just combined. If the batter seems very thick, stir in 1–3 tablespoons of milk to reach a soft, spreadable consistency.
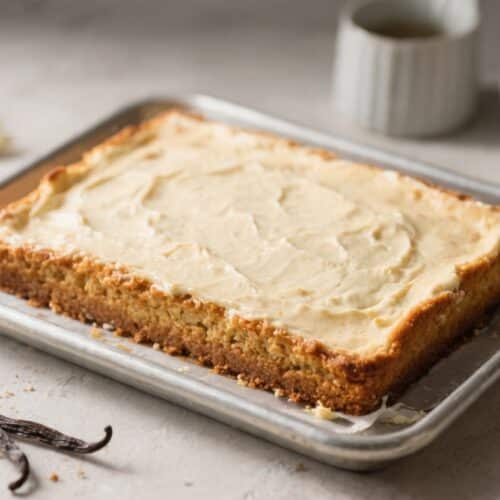
- Spread and level. Transfer the batter to the lined tray and spread it into the corners.Smooth the top with an offset spatula or the back of a spoon.
- Bake. Place in the center of the oven and bake for 22–28 minutes, or until the top is golden and a skewer inserted into the middle comes out clean.
- Cool. Let the traybake cool in the tin for 10 minutes. Lift it out using the paper and transfer to a wire rack to cool completely before slicing.
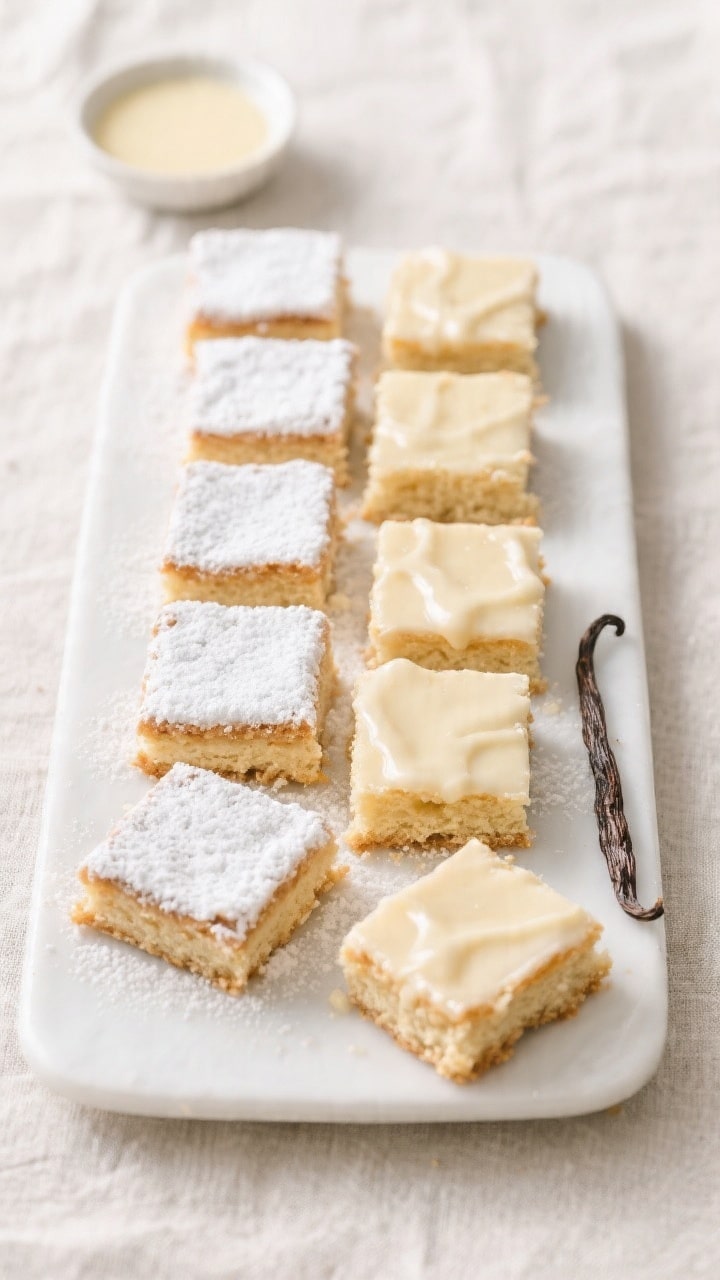
- Slice and serve. Cut into squares or bars. Enjoy plain, dusted with icing sugar, or with a thin vanilla glaze.
FAQ
Can I use plain flour instead of self-raising flour?
Yes. Use 250 g plain flour plus 2 1/2 teaspoons baking powder. Whisk them together well before adding to the batter to ensure even rise.
What if I only have granulated sugar?
Granulated sugar works, but the texture will be slightly coarser.
If possible, blitz it briefly in a food processor to make it finer, closer to caster sugar.
How do I know when the traybake is done?
The top should be lightly golden and spring back when pressed. A skewer inserted into the center should come out clean or with a few moist crumbs, not wet batter.
Can I bake this in a square tin?
Yes. Use a 9-inch square tin, but increase the bake time by 5–10 minutes since the cake will be thicker.
Check for doneness with a skewer.
Can I reduce the sugar?
You can reduce the sugar by up to 20% without major changes to texture. Keep in mind that less sugar means a slightly drier crumb and less browning.
Why did my batter curdle after adding the eggs?
This often happens when eggs are cold or added too quickly. It’s not a problem; the batter will smooth out once you fold in the flour.
How can I make the vanilla flavor stronger?
Use a high-quality vanilla extract and increase to 3 teaspoons.
You can also add the seeds from half a vanilla pod for a deeper, more aromatic taste.
Can I make this ahead?
Absolutely. Bake the day before and store at room temperature in an airtight container. The flavor actually settles nicely after a few hours.
Is a stand mixer necessary?
No.
A hand mixer makes it easy, but you can cream by hand with a wooden spoon. It will just take a little longer to get light and fluffy.
How do I keep the edges from overbrowning?
Use light-colored metal tins, not dark nonstick. If the edges brown too quickly, tent loosely with foil for the last 5–8 minutes.
Final Thoughts
This 5 Ingredient Vanilla Traybake is proof that simple baking can be truly satisfying.
It’s soft, fragrant with vanilla, and easy to share. Keep the ingredients on hand and you’ll always have a quick, reliable treat up your sleeve. Whether you serve it plain or dress it up with a glaze, it never disappoints.
Happy baking, and enjoy every buttery, vanilla-scented square.