These classic bars are the kind of treat everyone is happy to see on the table. They’re soft, chewy, and come together fast with pantry staples. You don’t need fancy tools or baking skills—just a stovetop, a pan, and a few minutes of attention.
The best part is how reliably good they turn out, even if you’re making them for the first time. Keep this recipe in your back pocket for last-minute gatherings, school events, or an easy weeknight dessert.
What Makes This Special
Plenty of recipes claim to be foolproof, but this one truly is. The secret is a gentle melt and the right ratio of butter, marshmallows, and cereal.
That gives you bars that stay soft without falling apart. A pinch of salt makes the sweetness pop, and a splash of vanilla adds warmth you’ll notice in every bite. With just five ingredients, you get a nostalgic treat that tastes like it came from a bakery, not a box.
How to Store
- Room temperature: Store in an airtight container for 2–3 days. Add a piece of parchment between layers to prevent sticking.
- To keep them soft: Slip a slice of bread into the container; it helps maintain moisture without making the bars soggy.
- Freezing: Not ideal. The texture gets a bit tough.
If you must, wrap tightly and freeze up to 1 month, then thaw at room temperature.
Benefits of This Recipe
- Only five ingredients: Simple, inexpensive, and pantry-friendly.
- No-bake and quick: From start to finish in under 20 minutes, plus cooling.
- Beginner-friendly: Minimal steps and no special skills required.
- Kid-approved: Familiar flavor with a soft, stretchy texture.
- Easy to customize: Add-ins and toppings are endless if you want to change it up.
What Not to Do
- Don’t crank up the heat. High heat scorches the butter and marshmallows, leading to stiff, dry bars.
- Don’t overpack the mixture. Pressing too firmly compacts the cereal and makes the treats hard.
- Don’t skip the salt. A small amount balances sweetness and brings out buttery flavor.
- Don’t add the cereal over heat. Turn off the burner first so the mixture stays soft and mixable.
- Don’t wait too long to press. The mixture sets quickly; transfer and press while it’s still warm and pliable.
Variations You Can Try
- Browned butter: Cook the butter over medium heat until golden with toasty bits, then add marshmallows. This adds a nutty, bakery-style flavor.
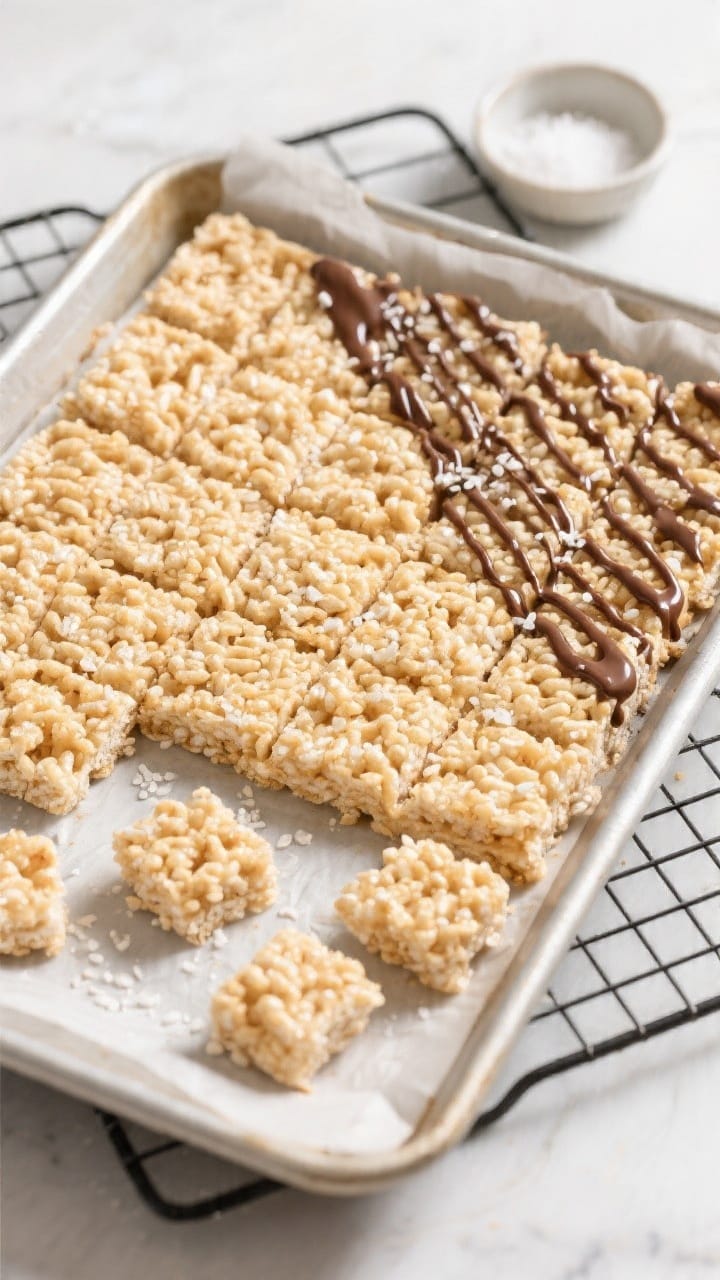
- Chocolate drizzle: Melt 1/2 cup chocolate chips and drizzle over the cooled slab. Let set, then slice.
- Peanut butter swirl: Stir 1/3 cup creamy peanut butter into the melted marshmallow mixture before adding cereal.
- Confetti treats: Fold in 2–3 tablespoons rainbow sprinkles just before pressing into the pan.
- Salted crunch: Top with a light sprinkle of flaky salt or fold in 1/2 cup crushed pretzels.
- Cookie crumble: Mix in 1/2 cup crushed chocolate sandwich cookies for a cookies-and-cream vibe.
- Holiday twist: Use seasonal sprinkles or swap in 1–2 cups of a fun cereal like Fruity Pebbles with 4–5 cups of Rice Krispies.
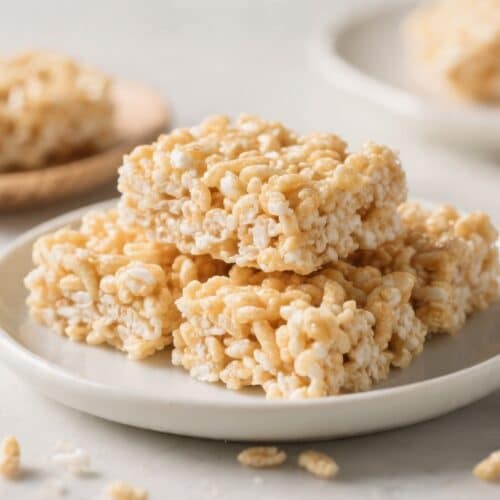
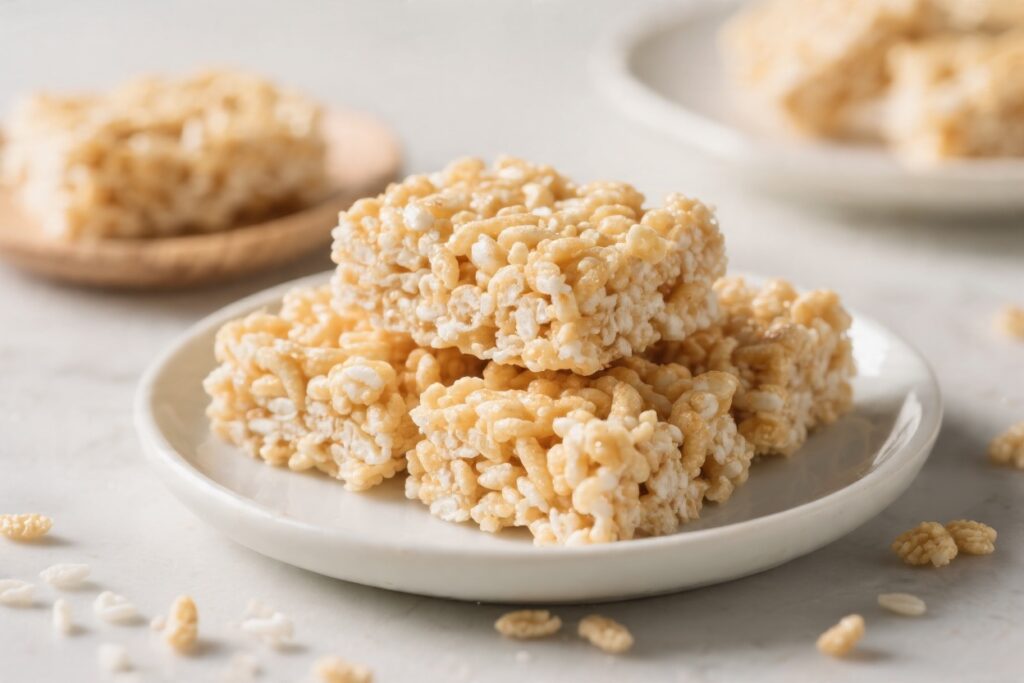
5 Ingredient Rice Krispie Treats – Simple, Chewy, and Crowd-Pleasing
Ingredients
- 6 cups Rice Krispies cereal (or any crisp rice cereal)
- 10 ounces mini marshmallows (about 5 heaping cups)
- 4 tablespoons unsalted butter
- 1 teaspoon vanilla extract
- 1/4 teaspoon fine sea salt
Instructions
- Prep the pan. Lightly grease a 9×13-inch pan or line it with parchment, leaving some overhang for easy lifting.Set aside.
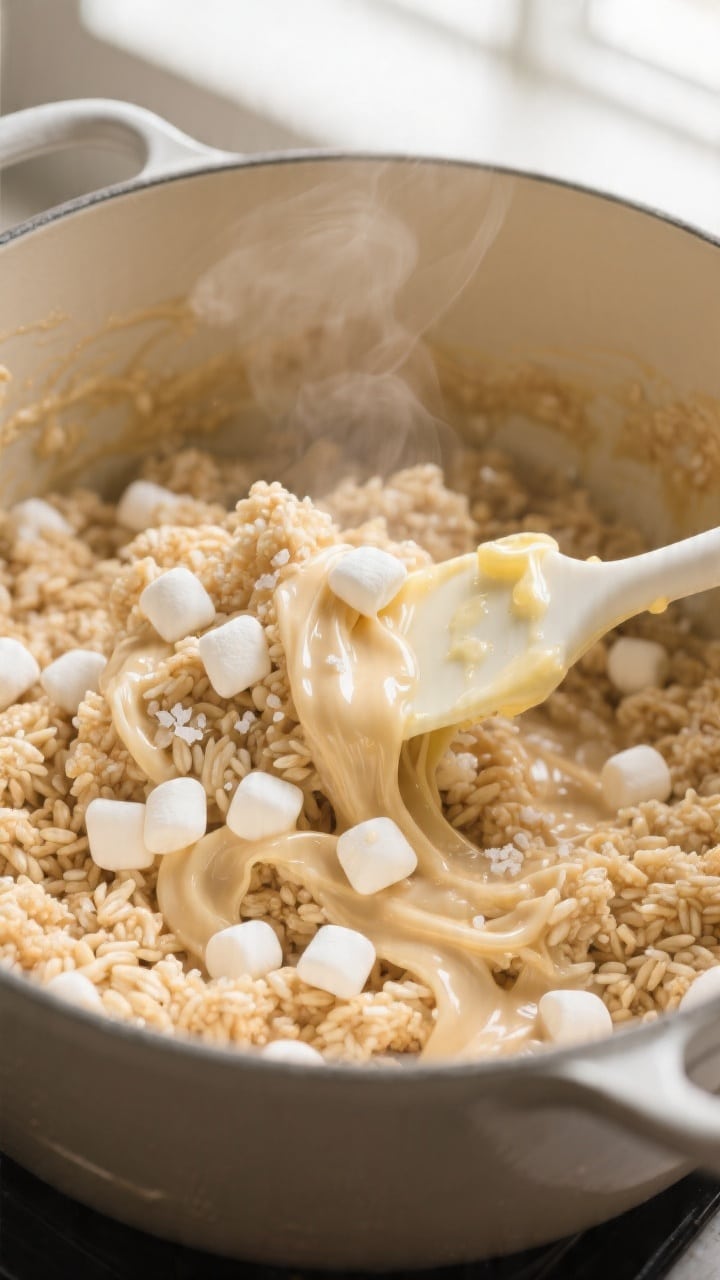
- Melt the butter. In a large pot over low heat, melt the butter slowly. Keep the heat gentle to avoid scorching.
- Add marshmallows. Stir in the mini marshmallows and cook on low, stirring constantly, until they’re almost fully melted and smooth. Take your time here for the best texture.
- Flavor it. Remove the pot from the heat.Stir in the vanilla extract and salt until evenly combined.
- Fold in the cereal. Add the Rice Krispies and use a spatula to fold gently until every piece is coated. Don’t crush the cereal—light, even strokes work best.
- Press into the pan. Transfer the mixture to the prepared pan. Lightly grease your spatula or your hands, or use a piece of parchment to press the mixture into an even layer. Do not press too firmly or the bars will turn hard.
- Set and slice. Let the treats cool at room temperature for 30–45 minutes.Cut into squares and serve.
FAQ
Why are my Rice Krispie treats hard?
They likely got too hot or were pressed too firmly into the pan.
Keep the heat low while melting, remove from heat before adding cereal, and press gently to keep the bars airy and soft.
Can I use large marshmallows instead of mini?
Yes. Use the same weight—10 ounces. Large marshmallows take a bit longer to melt, so stir constantly over low heat to avoid burning.
How do I make them extra gooey?
Add an extra cup of mini marshmallows at the end and fold them in just until streaky.
You’ll get visible pockets of marshmallow in every bite.
Can I make these dairy-free?
Use a dairy-free butter alternative and double-check your marshmallows for gelatin source or opt for a vegan brand. The texture will be very similar.
What’s the best way to cut clean squares?
Grease a sharp knife or run it under warm water, wipe dry, and slice with gentle pressure. Clean the blade between cuts for neat edges.
Do I need to refrigerate them?
No.
Refrigeration can make them firm and sticky. Store at room temperature in an airtight container for the best texture.
Can I halve the recipe?
Yes. Use an 8×8-inch pan and halve all ingredients.
The method stays the same, and the bars will be slightly taller.
What if I only have salted butter?
Use it, but reduce or omit the added salt. Taste the melted mixture before mixing in the cereal and adjust as needed.
How long do they take to set?
About 30–45 minutes at room temperature. If you’re in a rush, pop the pan in the fridge for 10–15 minutes, but don’t leave it too long or the bars can firm up too much.
Can I add mix-ins without ruining the texture?
Yes.
Keep add-ins to about 1/2–3/4 cup total. Fold them in gently at the end so the mixture stays cohesive and easy to slice.
Final Thoughts
This is the kind of recipe that never goes out of style. With just five ingredients and a few simple steps, you get chewy, buttery bars that feel homemade in the best way.
Keep the heat low, don’t press too hard, and you’ll nail the texture every time. Whether you stick to the classic or try a variation, these Rice Krispie treats are a guaranteed win for any crowd.