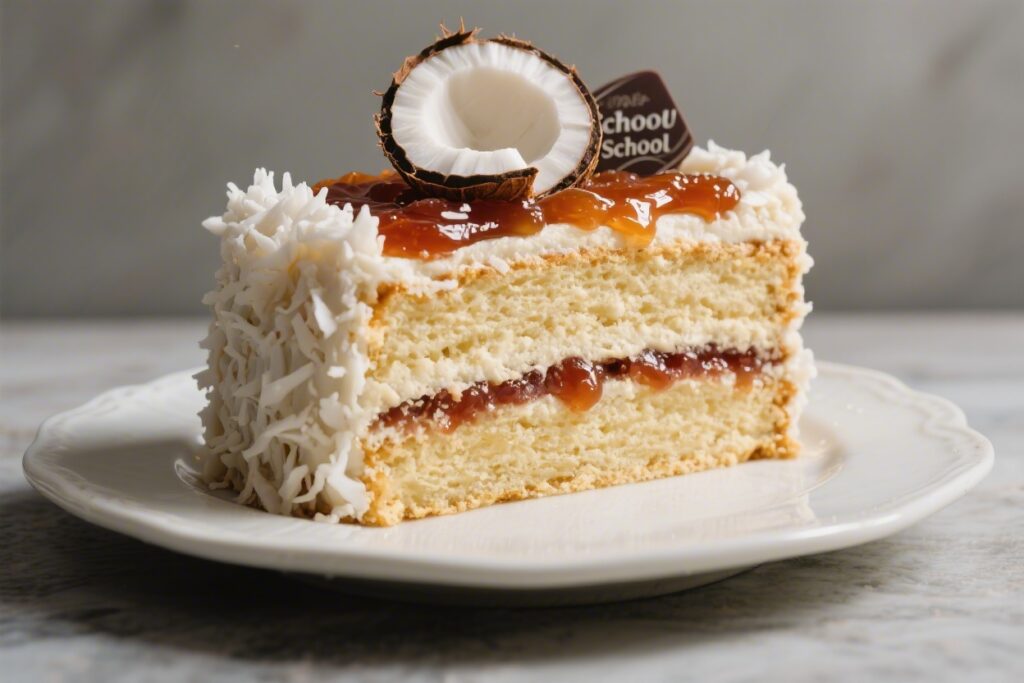
There’s something about Coconut and Jam School Cake that instantly brings back warm memories. Soft vanilla sponge, a glossy layer of jam, and a generous snow of coconut—simple, cheerful, and incredibly satisfying. It’s the kind of bake you can whisk together on a quiet afternoon and slice generously for tea.
No fancy techniques, no fuss—just classic comfort. If you loved this at school, this version brings that same charm home.
Why This Recipe Works
This recipe is all about balance: a light, tender sponge that holds its shape under jam and coconut without turning dense. The batter uses creamed butter and sugar for a soft crumb, and milk for moisture.
A sheet-cake style bake keeps it easy and perfect for slicing. The jam layer adds sweet-tart contrast, while desiccated coconut brings texture and that signature look.
It’s also forgiving. You don’t need specialist tools, and the ingredients are everyday staples.
Plus, it stays soft for days, making it ideal for packed lunches, gatherings, or a weekend treat.
Ingredients
- Butter (unsalted) – 200g, softened
- Caster sugar – 200g
- Large eggs – 4
- Vanilla extract – 2 tsp
- Self-raising flour – 250g
- Milk – 3–4 tbsp
- Salt – a small pinch
- Raspberry jam – 200–250g (or strawberry if you prefer)
- Desiccated coconut – 60–80g
- Optional icing – 150g icing sugar + 2–3 tbsp water or milk (for a thin glaze under the coconut)
Equipment: 9×13 inch (23x33cm) rectangular tin or similar, baking paper, electric hand mixer or stand mixer, spatula.
Instructions
- Prep the tin and oven. Heat the oven to 180°C/160°C fan/350°F. Line your tin with baking paper, leaving a little overhang for easy lifting.
- Cream butter and sugar. Beat the softened butter and caster sugar until very light and fluffy, about 3–4 minutes. This traps air and helps the sponge rise.
- Add eggs and vanilla. Beat in the eggs one at a time, mixing well after each.Stir in the vanilla extract. If it looks curdled, don’t worry—flour will fix it.
- Fold in dry ingredients. Sift in the self-raising flour and add a pinch of salt. Fold gently until just combined.Add milk a tablespoon at a time until you have a soft, dropping consistency.
- Bake. Spread the batter evenly in the lined tin. Bake for 20–25 minutes, or until golden and a skewer comes out clean. The top should spring back when touched.
- Cool completely. Leave the cake in the tin for 10 minutes, then lift out to a rack.Cool fully so the jam doesn’t melt and slide.
- Optional glaze. For a neat finish and to help the coconut stick evenly, whisk icing sugar with just enough water or milk to make a thin glaze. Spread a light layer over the cooled sponge.
- Add jam. Gently warm the jam in a small pan or microwave to loosen it. Spread a generous, even layer over the glaze or directly on the sponge if skipping icing.
- Finish with coconut. Sprinkle desiccated coconut over the jam while it’s still tacky.Press lightly with your palm so it adheres.
- Set and slice. Leave for 20–30 minutes to set, then slice into squares or bars. Clean the knife between cuts for tidy edges.
Storage Instructions
- Room temperature: Store in an airtight container for up to 3 days. Keep layers of baking paper between slices to prevent sticking.
- Refrigeration: Not essential, but if your kitchen is warm, chill for up to 5 days.Bring to room temperature before serving for best texture.
- Freezing: Freeze un-iced sponge well wrapped for up to 2 months. Thaw, then add jam and coconut fresh. You can also freeze finished slices; wrap individually and thaw at room temperature.
Benefits of This Recipe
- Simple ingredients: Everything is easy to find and budget-friendly.
- No tricky steps: Standard creaming method gives reliable results.
- Great for sharing: Sheet-cake format means neat squares for parties, bake sales, or lunch boxes.
- Flexible flavors: Change the jam or add citrus zest for a twist without changing the base method.
- Make-ahead friendly: The sponge stays soft, and the topping protects it from drying out.
What Not to Do
- Don’t rush the creaming stage. Under-creamed butter and sugar make a dense sponge.
- Don’t overmix the flour. Overmixing knocks out air and makes the cake tough.
- Don’t spread jam on a warm cake. It will melt, run, and soak in unevenly.
- Don’t overload with jam. Too much will slide and make slicing messy.Aim for a thin but visible layer.
- Don’t skip lining the tin. It ensures easy removal and clean edges.
Variations You Can Try
- Lemon Coconut School Cake: Add the zest of 1–2 lemons to the batter and swap raspberry jam for lemon curd.
- Strawberry Sprinkle version: Use strawberry jam and add rainbow sprinkles with the coconut for a party feel.
- Coconut Custard Slice: Split the cooled sponge horizontally, add a thin layer of custard, then jam and coconut on top. Chill before slicing.
- Gluten-free: Use a good-quality gluten-free self-raising flour and add 1 tsp xanthan gum if your blend doesn’t include it. Bake time may vary slightly.
- Dairy-free: Swap butter for a dairy-free baking block and use plant milk.Check your jam is dairy-free (most are).
- Toasted Coconut: Lightly toast the coconut in a dry pan for a nuttier flavor and golden look.
FAQ
Can I use plain flour instead of self-raising?
Yes. Use 250g plain flour and add 2.5 tsp baking powder. Whisk the baking powder into the flour before folding it into the batter.
What jam works best?
Raspberry jam is classic for its tang and color.
Strawberry, cherry, or apricot also work. Choose a smooth or seedless jam if you prefer a cleaner bite.
How do I know the batter is the right consistency?
It should be soft and drop from a spoon with a gentle tap, not stiff. If it feels thick, add milk 1 tbsp at a time until it loosens slightly.
My cake sank in the middle—why?
Common reasons include opening the oven door too early, underbaking, or too much liquid.
Make sure the center springs back and a skewer comes out clean before removing it.
Do I need the icing layer under the jam?
No, it’s optional. It creates a neat finish and helps the coconut stick evenly, but you can go straight to jam if you want it lighter and less sweet.
Can I bake this in a square tin?
Yes. A 20–23cm (8–9 inch) square tin works.
The cake will be thicker, so add a few extra minutes to the bake time and check with a skewer.
How can I get clean slices?
Let the topping set for at least 20 minutes. Use a sharp knife and wipe it clean between cuts. Chilling for 15 minutes before slicing can also help.
Is desiccated coconut the same as shredded coconut?
No.
Desiccated is finer and drier, which sticks better to the jam. If using shredded coconut, chop it slightly or press it in more firmly.
Final Thoughts
Coconut and Jam School Cake is proof that simple bakes often taste the best. With a soft vanilla sponge, shiny jam, and that snowy coconut top, it’s nostalgic and easy to love.
Keep this recipe on hand for birthdays, bake sales, and weekends when you want something unfussy but special. One tray, neat squares, happy faces—job done.