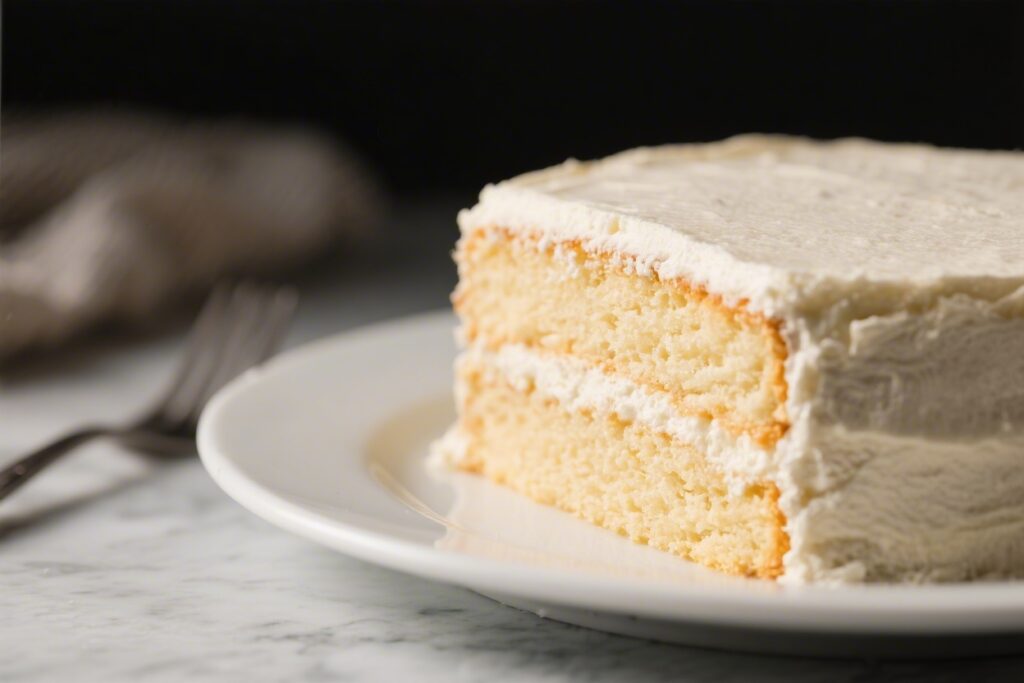
This vanilla cake is the kind of recipe you keep on a sticky note inside your pantry door. It’s straightforward, forgiving, and tastes like a classic bakery treat without the fuss. You don’t need special equipment, fancy ingredients, or years of baking experience.
Just a few basics, a bowl, and a whisk will do the job. If you’ve ever wanted a dependable cake for birthdays, potlucks, or a quiet Sunday afternoon, this one delivers.
What Makes This Recipe So Good
- No mixer needed: A whisk and a bowl are enough. The method is simple and beginner-friendly.
- Moist and tender crumb: A touch of oil paired with butter keeps the cake soft for days.
- True vanilla flavor: Uses both vanilla extract and a hint of salt to make the flavor pop.
- Flexible batter: Works as a layer cake, sheet cake, or cupcakes with minimal changes.
- Failsafe steps: Clear visual cues tell you when you’ve mixed enough and when it’s baked through.
Recipe Card
Easy Vanilla Cake for Beginners
Ingredients
- 1 1/2 cups (195 g) all-purpose flour
- 1 cup (200 g) granulated sugar
- 1 1/2 tsp baking powder
- 1/2 tsp baking soda
- 1/2 tsp fine salt
- 1/2 cup (120 ml) whole milk, room temperature
- 1/2 cup (120 g) plain yogurt or sour cream, room temperature
- 1/4 cup (60 ml) neutral oil (canola or vegetable)
- 1/4 cup (57 g) unsalted butter, melted and slightly cooled
- 2 large eggs, room temperature
- 2 tsp pure vanilla extract
- Optional: 1/2 tsp almond extract for a bakery-style twist
For a simple topping:
- Dust with powdered sugar, or frost with vanilla buttercream or whipped cream.
Instructions
- Prep the pan and oven: Heat the oven to 350°F (175°C). Grease and line an 8-inch round cake pan (or 9-inch for a thinner cake) with parchment paper. Greasing plus parchment ensures an easy release.
- Combine dry ingredients: In a large bowl, whisk flour, sugar, baking powder, baking soda, and salt until evenly mixed. Breaking up any flour clumps now prevents overmixing later.
- Mix wet ingredients: In a separate bowl or large measuring cup, whisk milk, yogurt, oil, melted butter, eggs, vanilla, and almond extract if using. The mixture should look smooth and creamy.
- Bring it together: Pour the wet mixture into the dry ingredients. Whisk gently until you no longer see streaks of flour. Stop mixing as soon as it’s combined; a few small lumps are fine.
- Rest the batter (briefly): Let the batter sit for 2–3 minutes. This helps the flour hydrate and yields a more even crumb.
- Fill the pan: Scrape the batter into the prepared pan. Smooth the top with a spatula so it bakes level.
- Bake: Place on the center rack and bake for 28–35 minutes (closer to 25–30 minutes in a 9-inch pan). The cake is ready when the top springs back lightly and a toothpick comes out with a few moist crumbs.
- Cool: Let the cake cool in the pan for 10 minutes. Run a knife around the edge, then turn it out onto a wire rack. Peel off the parchment and let it cool completely before frosting.
- Finish and serve: Dust with powdered sugar for a light finish, or frost once cool. Slice with a sharp knife, wiping the blade between cuts for neat slices.
Storage Instructions
- Room temperature: Keep the unfrosted or buttercream-frosted cake covered at room temperature for up to 2 days. Use a cake dome or wrap loosely to prevent drying.
- Refrigerator: If using cream cheese or whipped cream frosting, refrigerate.
Cover well and enjoy within 3–4 days. Let slices sit out for 15–20 minutes before serving so the texture softens.
- Freezer: Wrap unfrosted layers in plastic, then foil. Freeze up to 2 months.
Thaw in the fridge overnight, then bring to room temperature before frosting.
Benefits of This Recipe
- Beginner-proof method: One bowl for dry, one for wet, and a quick whisk. No tricky creaming step.
- Reliably moist: A mix of butter and oil gives flavor and softness. Yogurt adds tenderness without making it heavy.
- Balanced sweetness: Sweet enough for celebrations, but not cloying.
It pairs well with fruit, chocolate, or simple frostings.
- Works in multiple formats: Make a layer cake, sheet cake, or cupcakes with small timing adjustments.
- Pantry staples: Uses ingredients you likely already have on hand.
Pitfalls to Watch Out For
- Overmixing: Vigorous stirring toughens the cake. Mix just until combined.
- Cold ingredients: Cold milk, eggs, or yogurt can cause a dense texture. Bring them to room temperature for a smoother batter.
- Overbaking: A dry cake is almost always from extra time in the oven.
Start checking at 25 minutes and use the spring-back and toothpick tests.
- Uneven oven heat: If your oven runs hot, lower the temp by 15–25°F and rotate the pan once halfway through baking.
- Skipping parchment: Even greased pans can stick. Parchment on the bottom is a simple insurance policy.
Alternatives
- Dairy swaps: Use Greek yogurt or sour cream interchangeably. For lactose-free, use lactose-free milk and yogurt.
For non-dairy, choose unsweetened almond or oat milk and a thick dairy-free yogurt; flavor may be slightly different.
- Sweetener options: You can replace up to half the sugar with light brown sugar for a warmer flavor. Full swaps may darken the crumb slightly.
- Gluten-free: Use a 1:1 gluten-free all-purpose blend that includes xanthan gum. Let the batter rest 5–10 minutes before baking to hydrate the starches.
- Flavor twists: Add lemon zest for a bright note, or fold in mini chocolate chips.
A teaspoon of cinnamon gives a cozy bakery vibe.
- Pan sizes: Bake as 12 cupcakes (15–18 minutes), or as an 8×8-inch square cake (25–30 minutes). For two 6-inch layers, divide the batter and bake 20–25 minutes.
FAQ
Can I make this cake ahead?
Yes. Bake the cake a day in advance, cool completely, and wrap tightly.
Frost the next day. You can also freeze the unfrosted layer and thaw overnight in the fridge.
What frosting goes best with vanilla cake?
Classic vanilla buttercream is a safe bet. Chocolate frosting, strawberry buttercream, or lightly sweetened whipped cream also pair beautifully.
For a simple finish, dust with powdered sugar and serve with berries.
Why did my cake sink in the middle?
This usually happens from underbaking, opening the oven door too early, or expired leaveners. Make sure your baking powder and soda are fresh, avoid peeking in the first 20 minutes, and bake until the center springs back.
Can I reduce the sugar?
You can reduce the sugar by about 1/4 cup without major changes. The texture may be slightly less tender, but the cake will still turn out well.
Do I need a stand mixer?
No.
A whisk and a spatula work perfectly. If you have an electric hand mixer, use it on low speed and stop as soon as the flour disappears.
How do I know when the cake is done?
Look for light golden edges, a top that springs back when gently pressed, and a toothpick that comes out with a few moist crumbs. If it comes out wet, give it a few more minutes.
Can I double the recipe?
Yes.
Double and bake in a 9×13-inch pan for 30–38 minutes. Keep an eye on the center and test for doneness toward the earlier end of the range.
What if I only have salted butter?
Use it and reduce the added salt to a pinch. The cake will still taste great.
Can I add sprinkles for a funfetti cake?
Absolutely.
Fold in 1/3 cup of rainbow jimmies right at the end. Avoid nonpareils as they tend to bleed color.
How do I keep the cake moist after cutting?
Press a piece of plastic wrap directly against the cut side, then cover the whole cake. Alternatively, store slices in an airtight container.
Wrapping Up
This Easy Vanilla Cake for Beginners is the kind of recipe that makes you feel confident in the kitchen.
The steps are simple, the ingredients are basic, and the results are consistently delicious. Keep it plain, dress it up, or turn it into cupcakes—the batter is flexible and forgiving. Once you’ve made it once, you’ll reach for it anytime you need a guaranteed crowd-pleaser.