If you’ve got ripe bananas and a blender, you’ve basically got dessert. This frozen banana dessert ice cream is creamy, sweet, and shockingly satisfying, all with just two ingredients. There’s no added sugar, no dairy if you don’t want it, and no fancy equipment besides a blender or food processor.
It’s the kind of treat you can make on a weeknight without planning ahead—just freeze your bananas and you’re set. Kids love it, adults love it, and it’s endlessly customizable.
What Makes This Recipe So Good
- Only two ingredients: Bananas and a splash of milk (dairy or non-dairy). That’s it.
- Naturally sweet: Ripe bananas bring all the sweetness, so you don’t need added sugar.
- Creamy texture: Frozen bananas blend into a soft-serve style ice cream that feels rich without the cream.
- Quick and easy: From blender to bowl in minutes once your bananas are frozen.
- Flexible for diets: Easily vegan, dairy-free, and gluten-free.
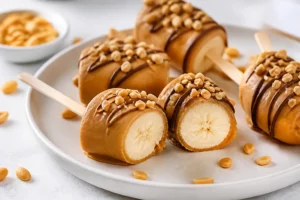
- Customizable: Add cocoa, peanut butter, or berries for endless variations.
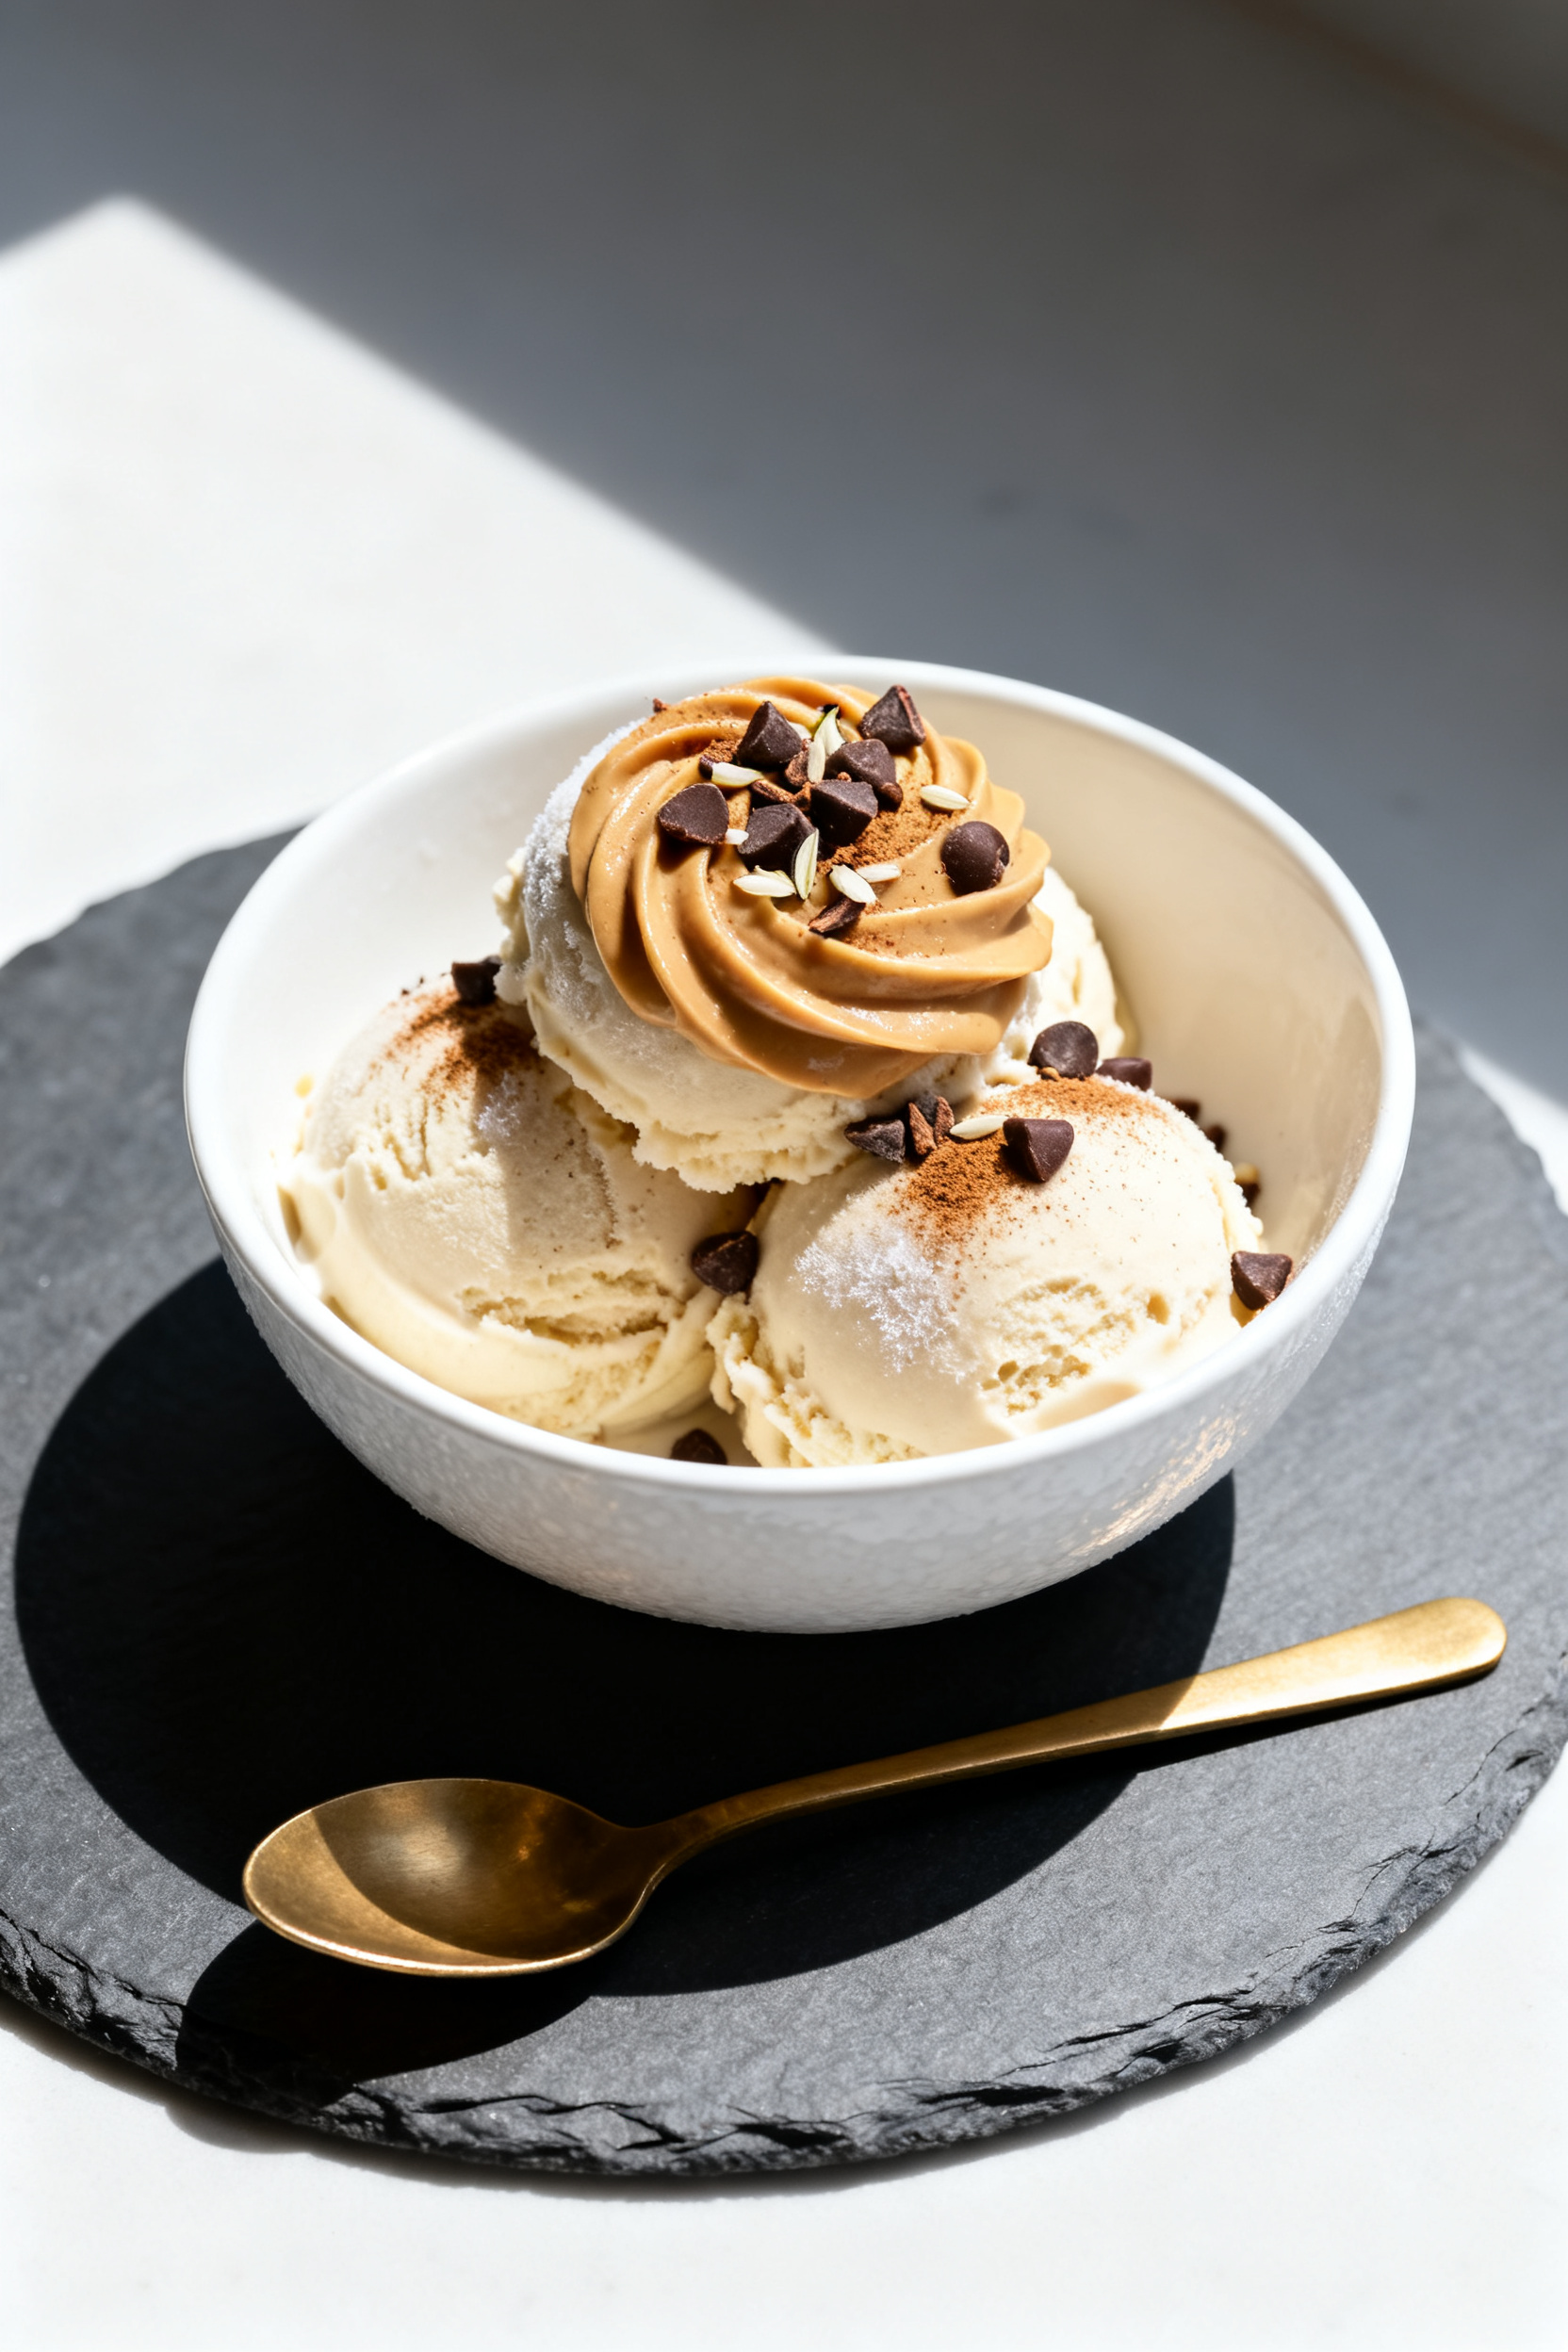
2 Ingredient Frozen Banana Ice Cream – Creamy, Easy, and Naturally Sweet
Ingredients
- 4 large ripe bananas (the peel should have lots of brown spots for best sweetness)
- 2–4 tablespoons milk (any kind: dairy, almond, oat, coconut; add more as needed to blend)
Instructions
- Prep the bananas: Peel the bananas, slice into coins about 1/2 inch thick, and place on a parchment-lined tray.Freeze until solid, at least 2–3 hours or overnight.
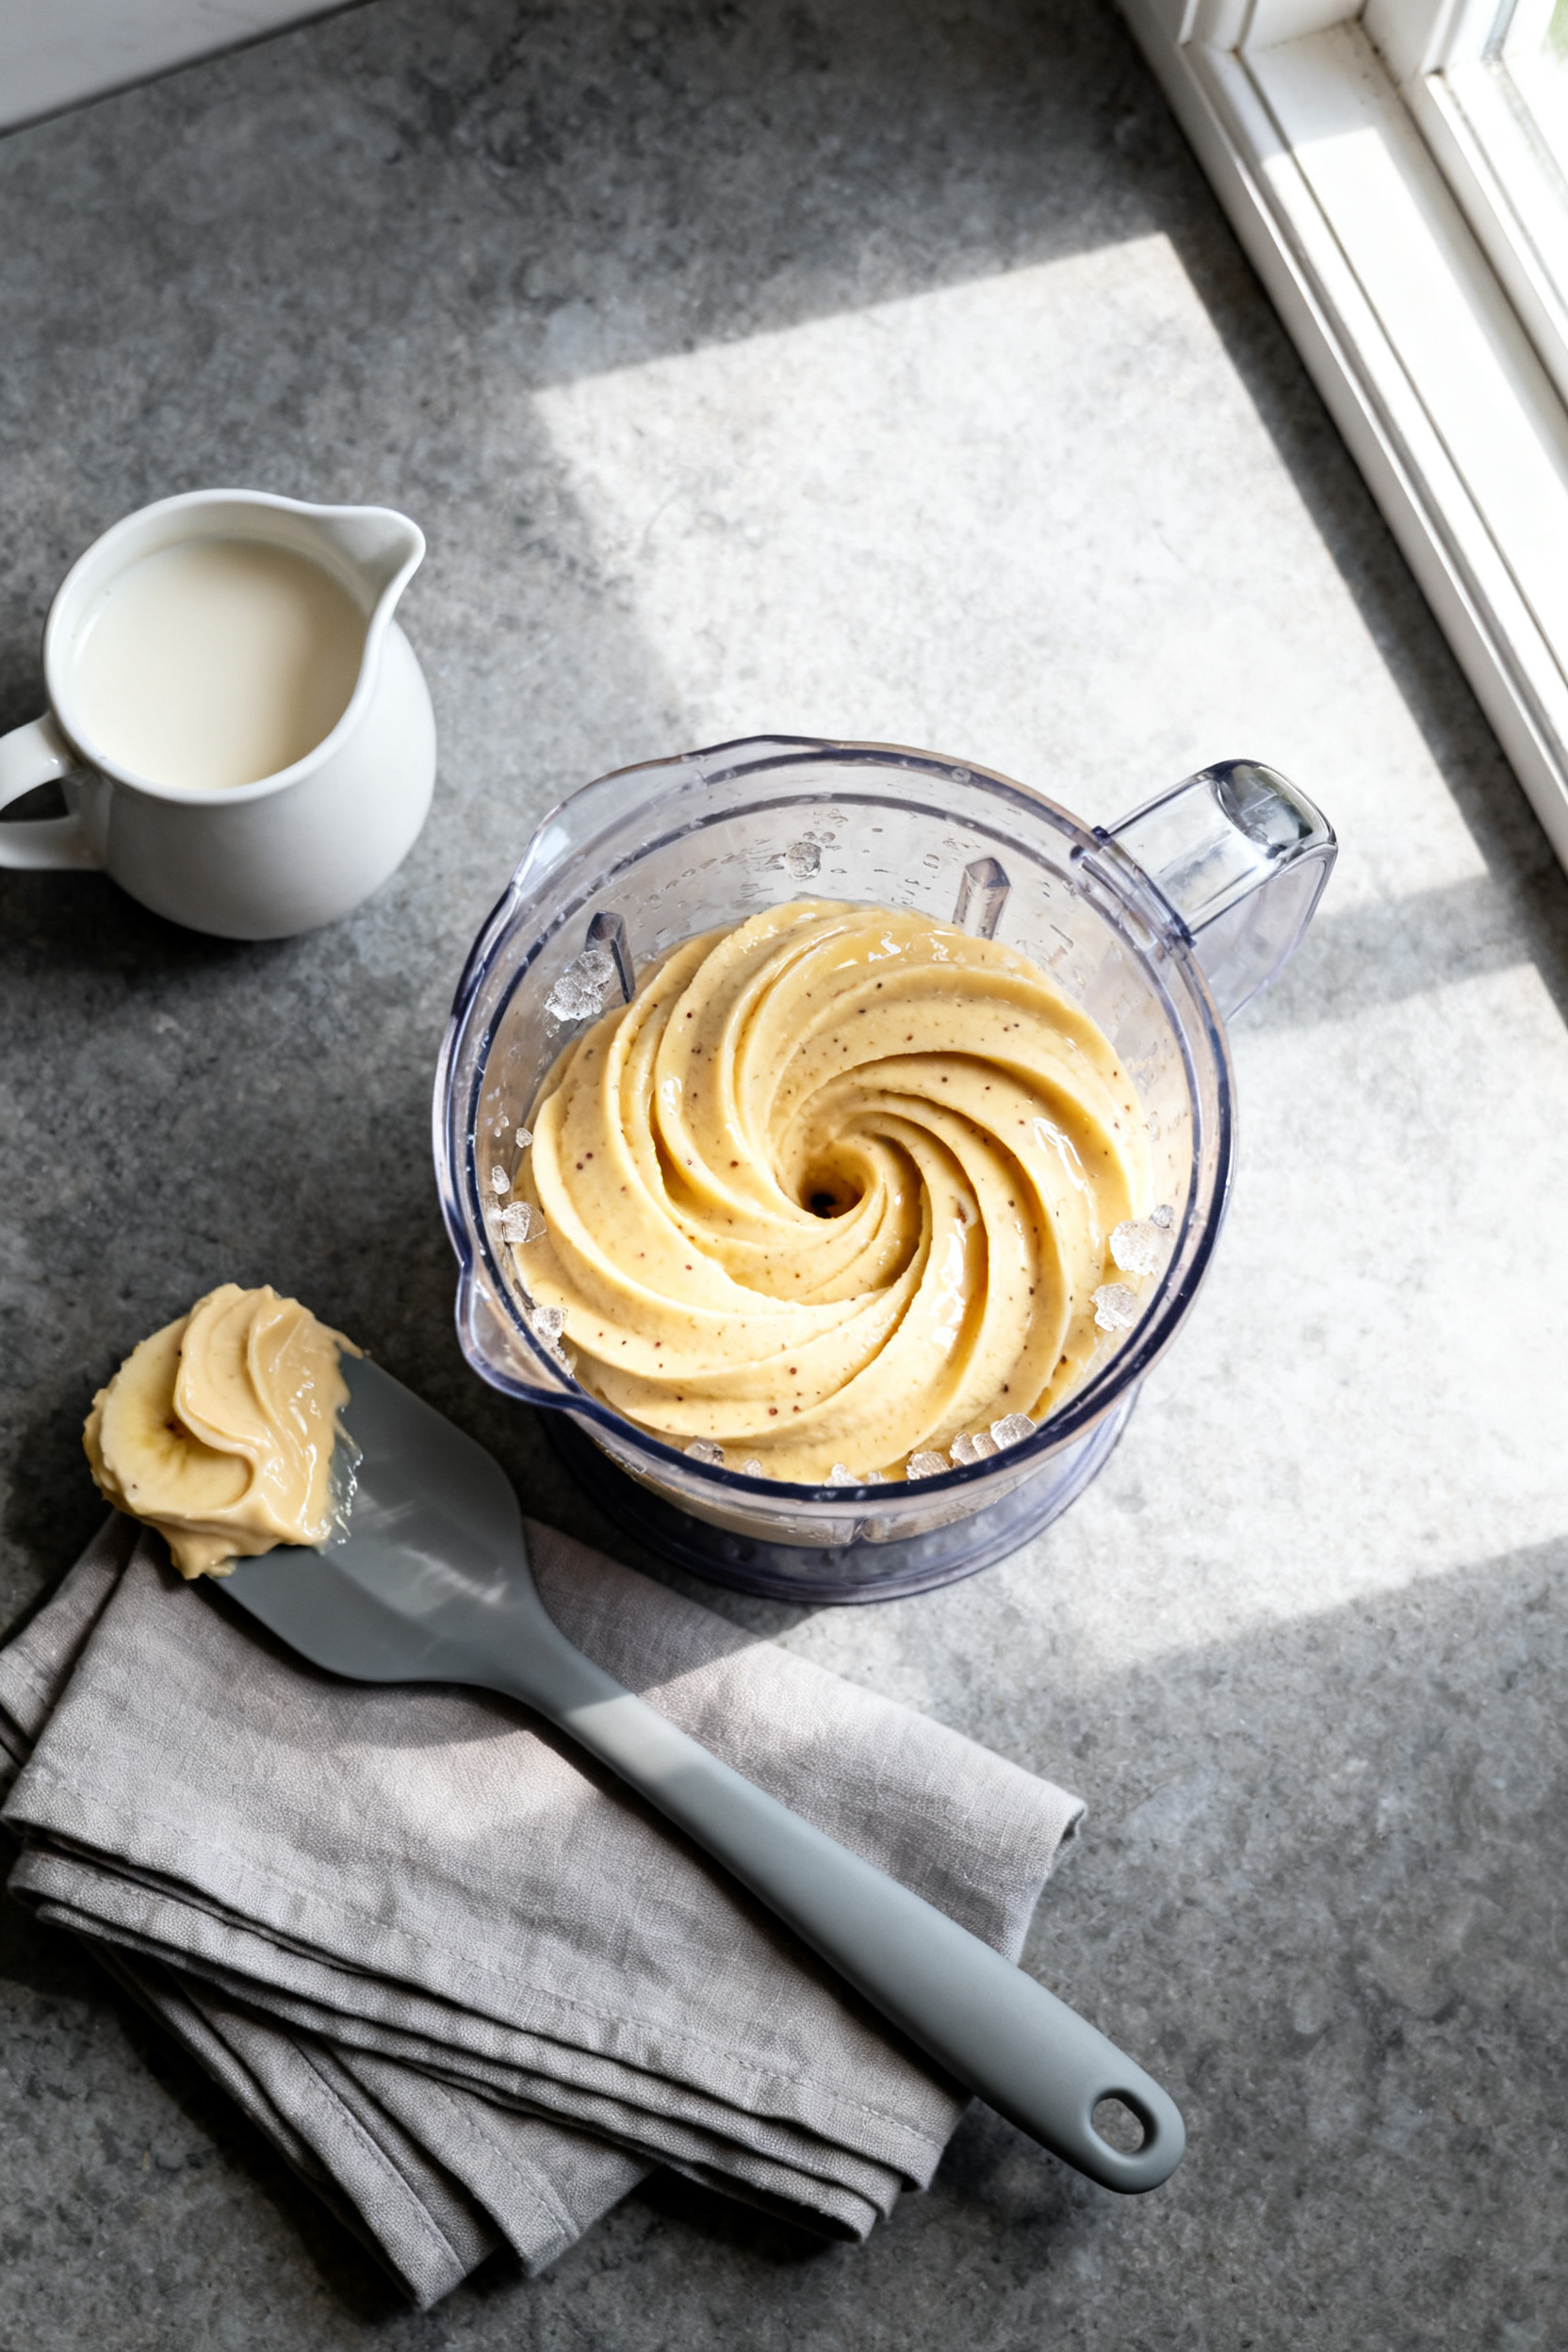
- Set up your blender or food processor: Add the frozen banana slices to the bowl or pitcher. Start with 2 tablespoons of milk.
- Pulse, then blend: Pulse several times to break up the chunks. Blend on low, stopping to scrape down the sides as needed.Add small splashes of milk only if it’s too thick to blend.
- Keep going until smooth: It will look crumbly at first, then sandy, then suddenly turn creamy and soft-serve-like. Be patient; this switch happens fast.
- Taste and tweak: If you’re using add-ins like cocoa or peanut butter, blend them in now. Adjust sweetness or thickness with more banana or a tiny bit more milk.
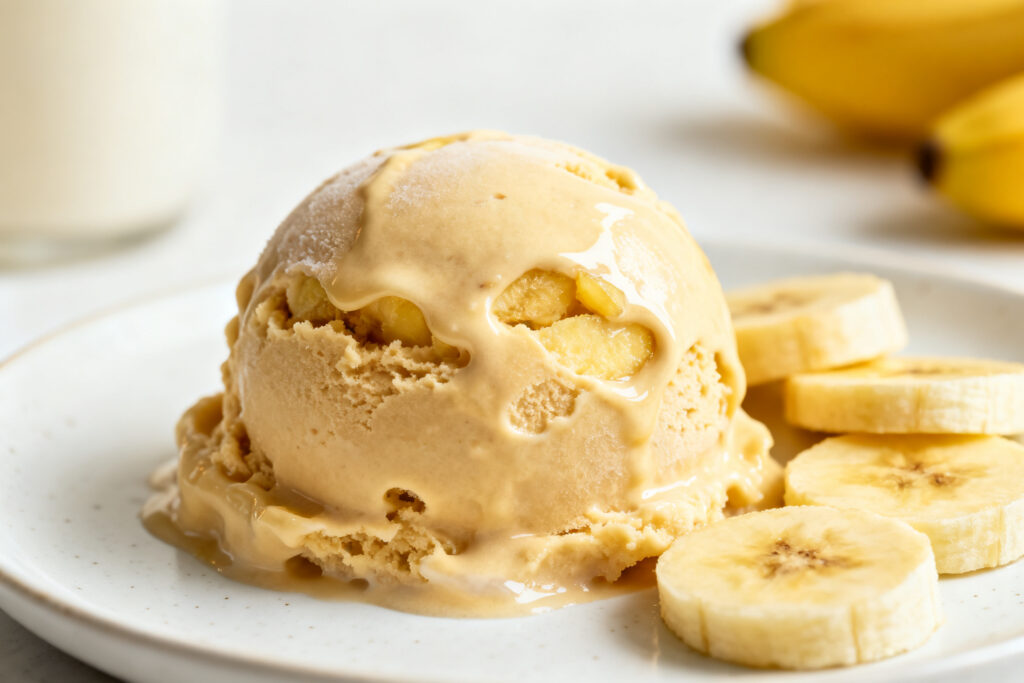
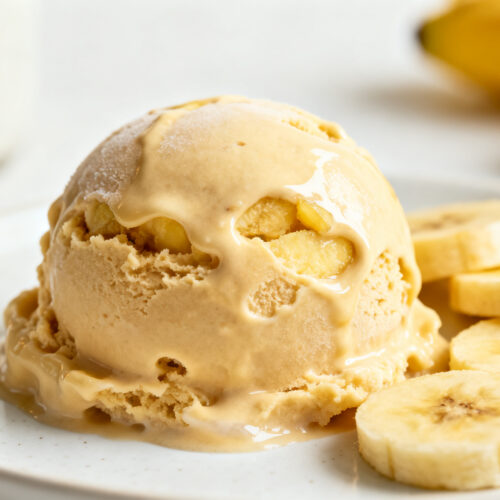
- Serve soft-serve style: Enjoy immediately for a soft-serve texture.For a scoopable texture, transfer to a freezer-safe container and freeze 1–2 hours, then scoop.
How to Store
- Short-term: Keep in a freezer-safe container with a tight lid for up to 2–3 months. Press a piece of parchment directly on the surface to prevent ice crystals.
- Before serving: Let sit on the counter 5–10 minutes to soften for easy scooping.
- Meal prep tip: Freeze banana slices in individual portions so you can blend small batches on demand.
Health Benefits
- Nutrient-rich: Bananas offer potassium, vitamin B6, vitamin C, and fiber, which support heart health and digestion.
- Lower in added sugar: The sweetness comes from fruit, not syrups or refined sugar.
- Energy-friendly: Natural carbohydrates provide quick energy, great for a post-workout treat.
- Dairy-free option: Use almond, oat, or coconut milk for a creamy texture without dairy.
Common Mistakes to Avoid
- Using under-ripe bananas: Green or yellow-only bananas won’t be sweet or creamy enough. Wait for lots of brown spots.
- Adding too much liquid: It will turn into a smoothie.
Add milk slowly—just enough to get the blades moving.
- Not freezing the bananas fully: Soft or partly frozen bananas won’t whip into proper ice cream texture.
- Overprocessing with heat: Long blending can warm the mixture. Pause as needed to avoid melting and keep it creamy.
- Skipping the scrape-down: Stop and scrape the sides so all the banana pieces blend evenly.
Alternatives
- Milk swaps: Try almond milk for lightness, oat milk for extra creaminess, or canned coconut milk for a richer vibe.
- Flavor twists:
- Chocolate: Add 1 tablespoon cocoa powder and a pinch of salt.
- Peanut butter swirl: Blend in 1 tablespoon peanut or almond butter.
- Berry burst: Add 1/2 cup frozen strawberries or blueberries.
- Mocha: Add 1 teaspoon instant espresso and 1 tablespoon cocoa.
- Cinnamon roll: Add 1/2 teaspoon cinnamon and a dash of vanilla.
- Texture add-ins: Fold in crushed nuts, cacao nibs, or mini chocolate chips after blending for crunch.
- Banana-free version: If you can’t do bananas, try frozen mango or avocado with a splash of milk, but note the flavor and texture will differ.
FAQ
Can I make this without a high-powered blender?
Yes. A standard blender or food processor works.
Let the banana slices sit for 2–3 minutes to soften slightly, pulse to break them up, and add milk in tiny amounts until the blades catch.
How ripe should the bananas be?
Very ripe, with lots of brown spots. The more spotted, the sweeter and creamier the result. Avoid bananas that are still mostly yellow or green.
Can I make it ahead?
Absolutely.
Blend and freeze in a lidded container. Soften at room temperature for 5–10 minutes before scooping. For best texture, enjoy within a few weeks.
Is this vegan?
It can be.
Use a plant-based milk like almond, oat, or coconut. The base recipe is naturally dairy-free when made this way.
Why did mine turn out icy?
Likely too much liquid or the bananas weren’t fully frozen. Next time, freeze the banana slices solid and add milk a teaspoon at a time—just enough to blend smoothly.
Can I sweeten it more?
Sure.
If your bananas aren’t sweet enough, add a drizzle of maple syrup, honey (if not vegan), or a couple of dates during blending.
What if I don’t want any milk?
You can blend the bananas alone. It may take longer and require more scraping, but it will still become creamy. A tablespoon of water can help get things moving if needed.
How do I get tidy scoops?
After blending, freeze the mixture for 1–2 hours to firm up.
Use a warmed scoop (dip in hot water and shake dry) for clean, round scoops.
Can I add protein?
Yes. Blend in a scoop of your favorite protein powder. You may need an extra splash of milk to keep the texture smooth.
Will this taste like traditional ice cream?
It’s close in texture but has a natural banana flavor and less richness than dairy-based ice cream.
Many people love it as a lighter, fresher alternative.
In Conclusion
This two-ingredient frozen banana dessert ice cream is simple, fast, and surprisingly indulgent for something so wholesome. With just ripe bananas and a splash of milk, you can make a creamy treat that fits your mood and your pantry. Keep a stash of banana slices in the freezer, and you’ve always got an easy dessert on standby.
Whether you serve it soft-serve style or scoop it after a short freeze, it’s a sweet win every time.