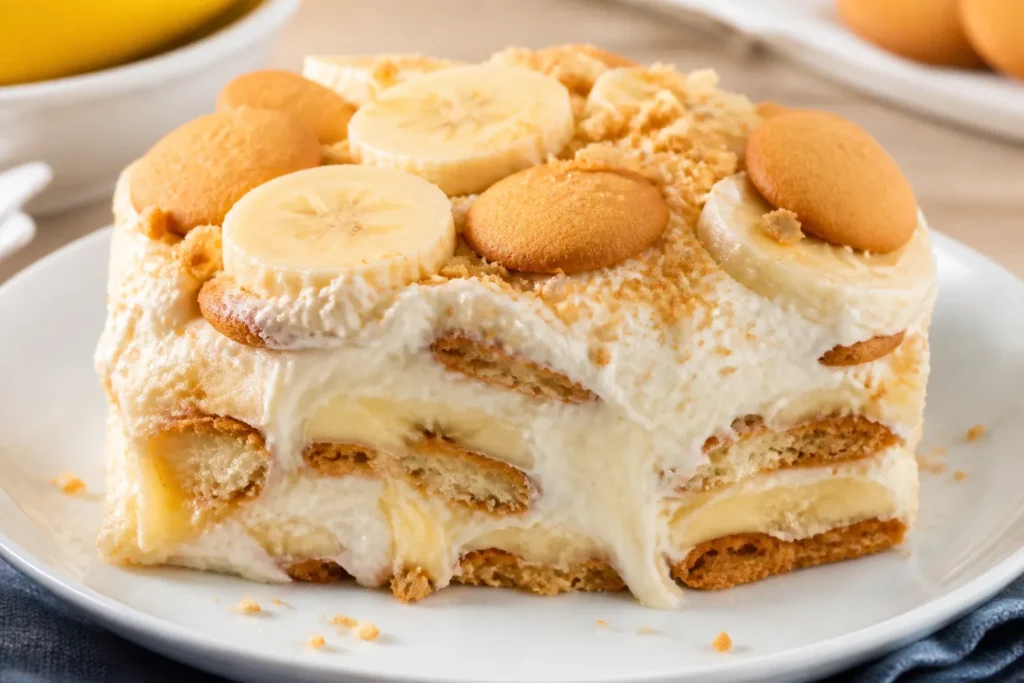
This Banana Nilla Wafer Dessert hits that sweet spot between nostalgic and new. It’s creamy, crunchy, and packed with fresh banana flavor—perfect for potlucks, family dinners, or an easy weeknight treat. You don’t need baking skills or special tools, just a few pantry staples and about 20 minutes of hands-on time.
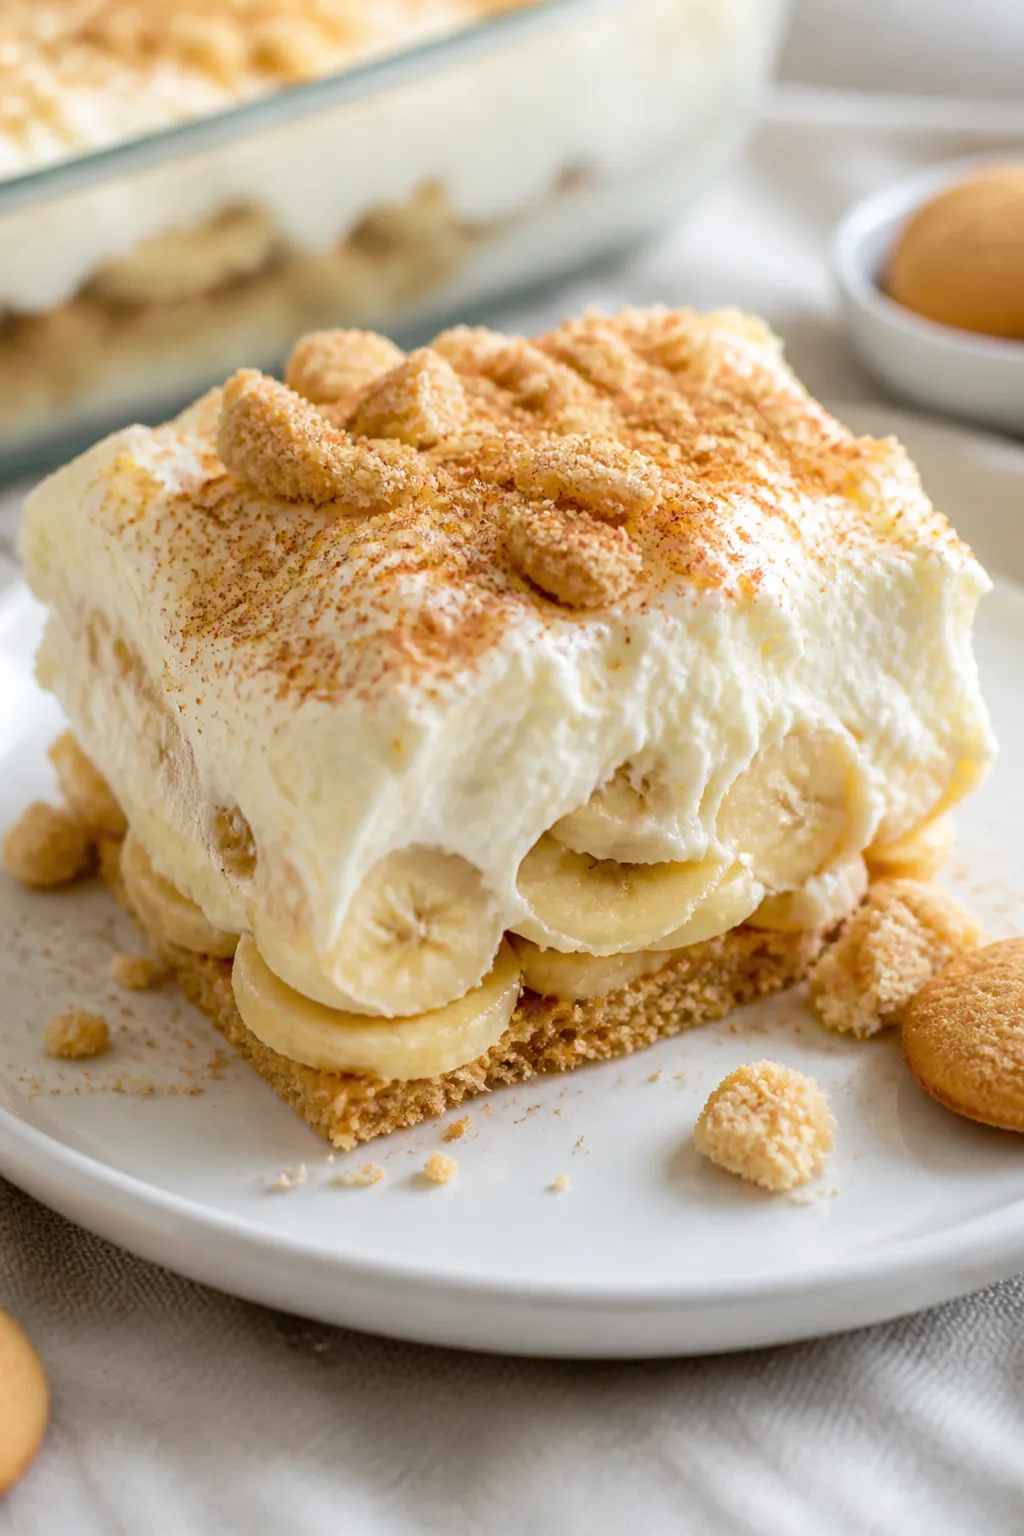
The layers look impressive, but the method is totally doable. Once it chills, you get a soft-set, silky dessert that tastes like banana pudding’s more luxurious cousin.
Why This Recipe Works
- Simple, no-bake layers: Nilla wafers soften into a cake-like base without turning soggy, giving you structure and flavor with zero oven time.
- Balanced sweetness: The cream cheese gently cuts the sweetness of the pudding and bananas, keeping each bite rich but not cloying.
- Make-ahead friendly: The dessert tastes better after chilling, so it’s perfect for prepping the night before.
- Easy to scale: Double it for a crowd or assemble in individual cups for parties—you can’t really mess it up.
- Familiar ingredients: Everything comes from a regular grocery store, and the method is straightforward.
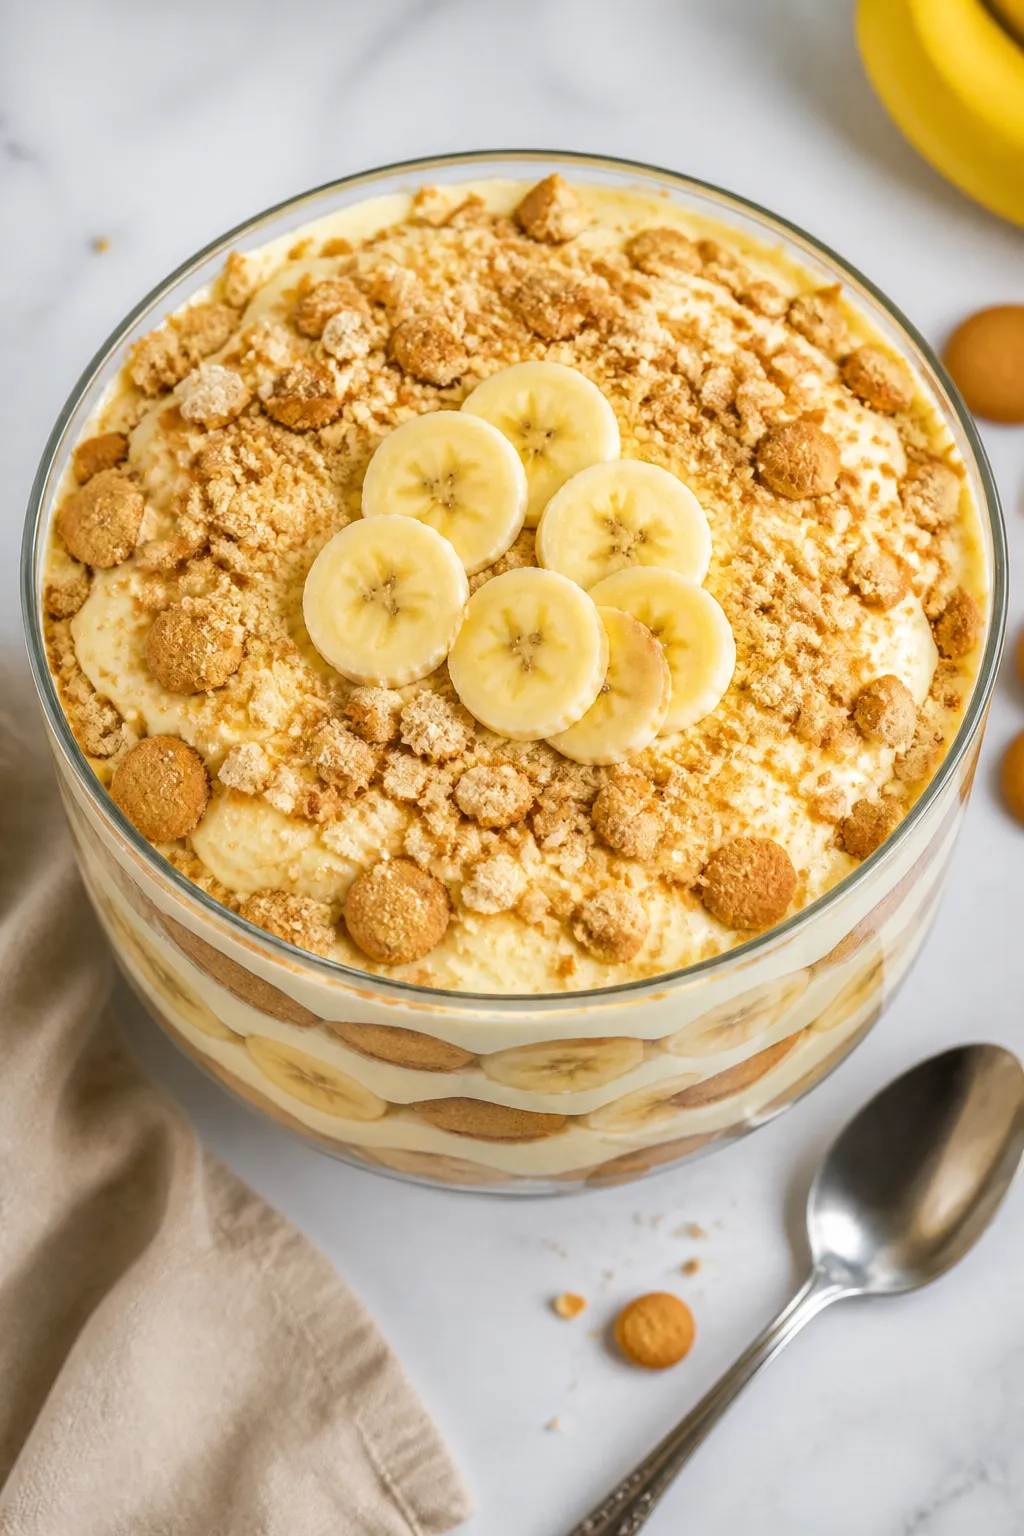
Banana Nilla Wafer Dessert With Cream Cheese Filling – A Simple, Crowd-Pleasing Treat
Ingredients
- 1 (11–12 oz) box Nilla wafers
- 4–5 ripe bananas, sliced (not overripe; look for mostly yellow with a few brown specks)
- 8 oz cream cheese, softened to room temperature
- 1/2 cup granulated sugar (or 1/3 cup for less sweet)
- 1 teaspoon pure vanilla extract
- 1 (14 oz) can sweetened condensed milk
- 1 (3.4 oz) box instant vanilla pudding mix (banana cream flavor also works)
- 1 1/2 cups cold milk (whole or 2%)
- 2 cups cold heavy whipping cream (or one 8 oz tub whipped topping)
- Pinch of salt
- Optional: crushed Nilla wafers for topping, a few banana slices for garnish, or a dusting of cinnamon
Instructions
- Chill your tools: Place a mixing bowl and beaters in the fridge for 10 minutes. Cold equipment helps the cream whip quickly and hold its shape.
- Whip the cream: In the chilled bowl, whip the heavy cream to stiff peaks.Don’t overmix. Set aside. If using whipped topping, skip this step.
- Make the pudding: In a separate bowl, whisk the instant pudding mix with cold milk for 2 minutes until thickened.Let it sit for another 2–3 minutes to fully set.
- Beat the cream cheese: In a large bowl, beat the softened cream cheese, sugar, vanilla, and a pinch of salt until ultra-smooth and fluffy. Scrape the bowl to avoid lumps.
- Combine the creamy base: Beat in the sweetened condensed milk until silky. Then whisk in the prepared pudding until fully blended and smooth.
- Fold in the whipped cream: Gently fold the whipped cream (or whipped topping) into the cream cheese–pudding mixture until no streaks remain.Keep it airy.
- Layer the dessert: In a 9×13-inch dish, add a single layer of Nilla wafers. Top with half the banana slices. Spread half the cream filling over the bananas.
- Repeat: Add another layer of wafers, the remaining bananas, and the rest of the cream filling.Smooth the top.
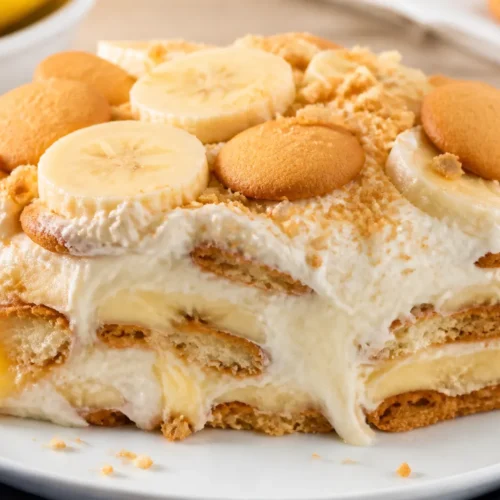
- Finish with crunch: Sprinkle crushed Nilla wafers over the top for texture. Add a few banana slices right before serving, not now, to avoid browning.
- Chill: Cover and refrigerate for at least 4 hours, preferably overnight. This allows the wafers to soften and the flavors to meld.
- Serve: Slice into squares or spoon into bowls.Garnish with a light dusting of cinnamon if you like.
Storage Instructions
- Refrigerate: Cover tightly and keep in the fridge for up to 3 days. The texture is best within the first 48 hours.
- Banana browning: To minimize browning, slice bananas just before layering. You can lightly toss them in lemon juice, but use a very small amount to avoid affecting flavor.
- Freezing: Not recommended.
Dairy-based, no-bake desserts can weep and separate after thawing.
- Make-ahead: Assemble up to 24 hours in advance. Add any fresh banana garnish right before serving.
Health Benefits
- Potassium from bananas: Bananas provide potassium, which supports normal blood pressure and muscle function.
- Energy and fiber: Bananas offer quick carbohydrates and some fiber, which can help with steady energy and digestion.
- Portion control: This is a rich dessert. Enjoying a modest serving can satisfy a sweet craving without overdoing it.
- Simple swaps: You can lighten the dessert with reduced-fat cream cheese, less sugar, and a smaller portion of wafers while keeping the overall experience.
Common Mistakes to Avoid
- Using overripe bananas: Bananas that are too soft can turn mushy and bleed into the cream.
Choose firm, ripe bananas with just a few brown freckles.
- Skipping the chill time: The layers need time to set. If you serve too soon, the wafers won’t soften and the texture won’t be cohesive.
- Cold cream cheese: Cream cheese straight from the fridge clumps. Let it sit at room temperature for 30–45 minutes before beating.
- Over-whipping cream: Over-beaten cream turns grainy and can separate.
Stop at stiff peaks.
- Soggy top garnish: Add fresh banana slices on top right before serving to keep them bright and appealing.
Variations You Can Try
- Peanut butter twist: Beat 1/3 cup creamy peanut butter into the cream cheese mixture for a banana–PB vibe.
- Chocolate layer: Add a thin layer of chocolate ganache over the first wafer layer or sprinkle mini chocolate chips between layers.
- Coconut cream: Fold 1/2 cup toasted coconut into the filling and swap vanilla extract for coconut extract.
- Lightened-up version: Use reduced-fat cream cheese, cut the sugar to 1/4 cup, and use fewer wafers. It stays creamy but slightly less rich.
- Individual cups: Layer in small glasses or jars for portable servings and easy portion control.
- Gluten-free: Use certified gluten-free vanilla wafers and check labels on pudding and condensed milk to confirm.
FAQ
Can I use regular cooked pudding instead of instant?
Yes, as long as it’s fully cooled and thick. Instant pudding is faster and sets reliably, but homemade pudding works if you chill it first and whisk out any lumps before combining.
How do I keep bananas from turning brown?
Slice them right before layering.
If you want extra insurance, lightly brush or toss them with a tiny bit of lemon juice. Use a soft touch so you don’t taste the lemon.
Can I substitute whipped topping for whipped cream?
Absolutely. Use an 8 oz tub of whipped topping and fold it in gently.
The dessert will be slightly sweeter and a bit more stable, which can be helpful for travel.
What size dish works best?
A 9×13-inch pan gives you two full layers with good coverage. For thicker layers, use a smaller deep dish or assemble in a trifle bowl.
Is there a dairy-free option?
You can try dairy-free cream cheese, coconut whipped topping, and plant-based milk with a pudding mix that sets without dairy. Texture may vary, but it’s doable with the right products.
Can I make this without condensed milk?
Yes.
Increase the cream cheese to 12 oz and add 1/3–1/2 cup powdered sugar to taste. The filling will be a little less silky but still rich and delicious.
How far in advance can I assemble it?
Up to 24 hours ahead is ideal. After 48 hours, the wafers get very soft and the bananas can darken, though the flavor is still good.
In Conclusion
This Banana Nilla Wafer Dessert with Cream Cheese Filling is the kind of recipe you keep in your back pocket: simple to make, reliably delicious, and easy to share.
The creamy filling, tender wafers, and fresh bananas deliver comfort with a little polish. Make it the night before, bring it to your next gathering, and watch it disappear—no oven, no fuss, all reward.