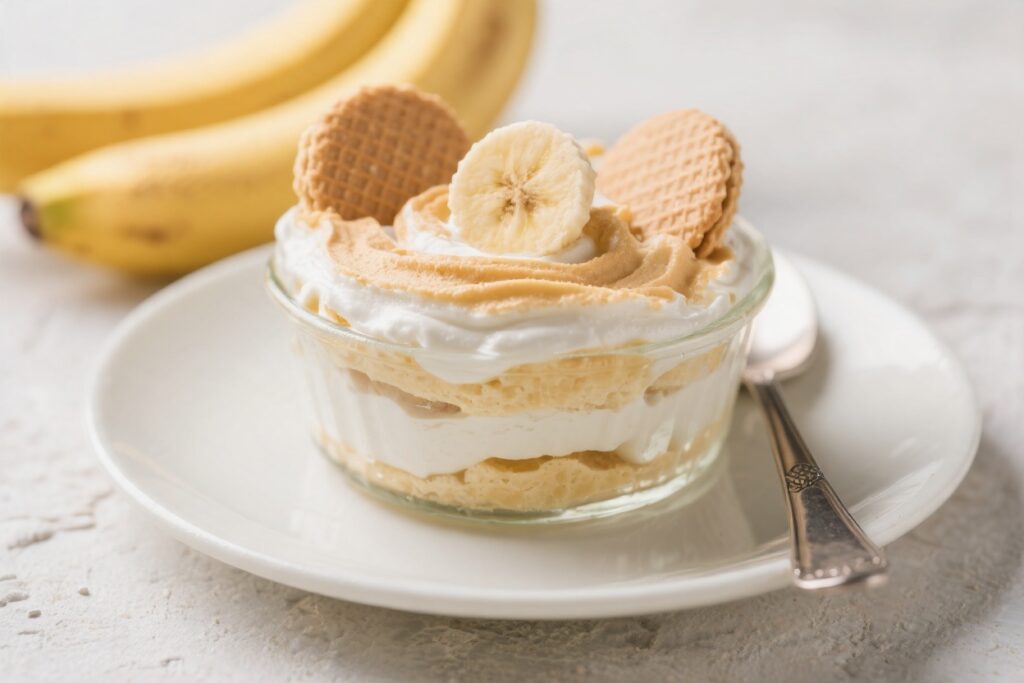
Banana pudding feels like a warm hug from the past. It’s familiar, creamy, and always a crowd-pleaser. This version keeps things classic: layers of vanilla wafers, fresh bananas, and smooth vanilla pudding, finished with a soft cloud of whipped cream.
It’s simple to make, easy to serve, and perfect for family dinners, potlucks, or a nostalgic weekend treat. If you want a dessert that tastes like home, this is it.
Why This Recipe Works
This recipe balances texture and flavor in every bite. The vanilla wafers soften just enough to turn cake-like without falling apart.
Fresh bananas bring natural sweetness and a little tang, while the vanilla pudding ties it all together with a rich, silky base. A whipped topping lightens the whole dish so it doesn’t feel heavy. Best of all, it gets better as it chills, so you can make it ahead with zero stress.
Storage Instructions
Keep the dessert covered in the fridge for up to 3 days.
The bananas may darken slightly by day two, but the flavor remains great. To slow browning, you can lightly brush banana slices with lemon juice before layering, or tuck them deeper between pudding layers. Avoid freezing—dairy separates and bananas turn mushy when thawed.
Why This is Good for You
- Comfort without fuss: A homemade dessert that doesn’t demand advanced baking skills or special equipment.
- Calcium and potassium: Milk and bananas offer nutrients like calcium for bones and potassium for heart health.
- Customizable sweetness: You control sugar by using unsweetened whipped cream or reducing added sugar in the topping.
- Portion-friendly: It serves a crowd, so it’s easy to share, which naturally helps with mindful portions.
Pitfalls to Watch Out For
- Warm pudding ruins texture: If the pudding is even slightly warm, it can melt the whipped cream and make wafers soggy too fast.
Cool it fully.
- Overripe bananas get mushy: Choose bright yellow bananas with minimal brown spots. They should slice cleanly and hold their shape.
- Skipping chill time: Rushing the rest means wafers stay crunchy and layers slide. Plan for at least 4 hours in the fridge.
- Too much liquid: Don’t overmeasure milk for instant pudding.
Extra liquid keeps it from setting properly.
- Thin whipped cream: Under-whipped cream will weep and separate. Aim for soft peaks that hold a gentle curl.
Alternatives
- From-scratch custard: Make a simple pastry cream with egg yolks, sugar, cornstarch, milk, and vanilla for a richer, old-school pudding layer.
- Lightened-up version: Use low-fat milk with instant pudding and top with lightly sweetened Greek yogurt folded with a bit of whipped cream.
- Gluten-free: Swap in certified gluten-free vanilla wafers.
- Dairy-free: Use almond or oat milk for instant pudding that sets with non-dairy milk (check brand), and top with coconut whipped cream. Choose dairy-free wafers.
- Flavor twists: Add a splash of bourbon or banana liqueur to the pudding, layer in a drizzle of caramel, or mix crushed wafers with a bit of melted butter to make a crumbly base.
- Meringue topping: For a true Southern classic, top with homemade meringue and bake briefly to brown the peaks.
Let cool completely before chilling.
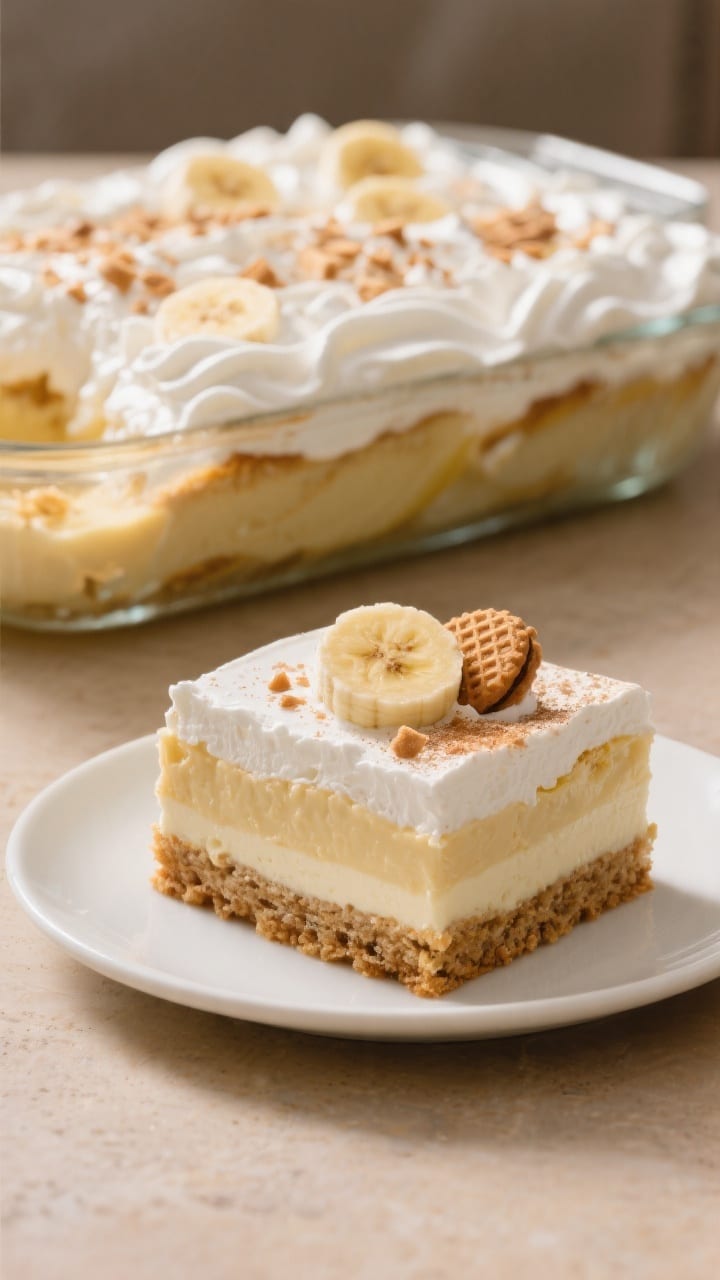
Banana Pudding Vanilla Wafer Dessert Classic Style – A Comforting, No-Fuss Favorite
Ingredients
- Vanilla wafers (about 11–12 ounces; one standard box)
- Bananas (4–5 medium, ripe but firm)
- Whole milk (3 cups if using instant pudding; 4 cups for cook-and-serve)
- Vanilla pudding (two 3.4-ounce boxes of instant, or one large cook-and-serve box)
- Heavy cream (1 1/2 cups) or frozen whipped topping (8 ounces), thawed
- Sugar (2–3 tablespoons, if whipping your own cream)
- Vanilla extract (1 teaspoon, for the whipped cream)
- Optional garnish: extra crushed wafers, banana slices, or a dusting of cinnamon
Instructions
- Chill your dish. Use a 9×13-inch baking dish or a deep trifle bowl.Pop it in the fridge while you prep to keep everything cool and help the layers set nicely.
- Make the pudding. For instant pudding, whisk the mix with cold milk for 2 minutes until smooth and thick. For cook-and-serve, prepare it on the stove per package directions, then let it cool to room temperature, whisking occasionally to avoid a skin. Do not add warm pudding to the wafers.
- Whip the cream (if not using whipped topping). Beat cold heavy cream, sugar, and vanilla until soft peaks form.Keep it light and fluffy, not stiff. Store in the fridge until ready to use.
- Prep the bananas. Slice them just before layering to keep them fresh-looking. Aim for 1/4-inch slices—thin enough to layer evenly, thick enough to hold shape.
- Lay the base. Line the bottom of your dish with a single layer of vanilla wafers.Fit them snugly, but no need to crush or overlap too much.
- Add the first banana layer. Arrange banana slices over the wafers in a single layer. Don’t stack too high; you’ll repeat layers.
- Spoon on the pudding. Spread about half the pudding over the bananas, smoothing it to the edges. Use the back of a spoon or an offset spatula for an even layer.
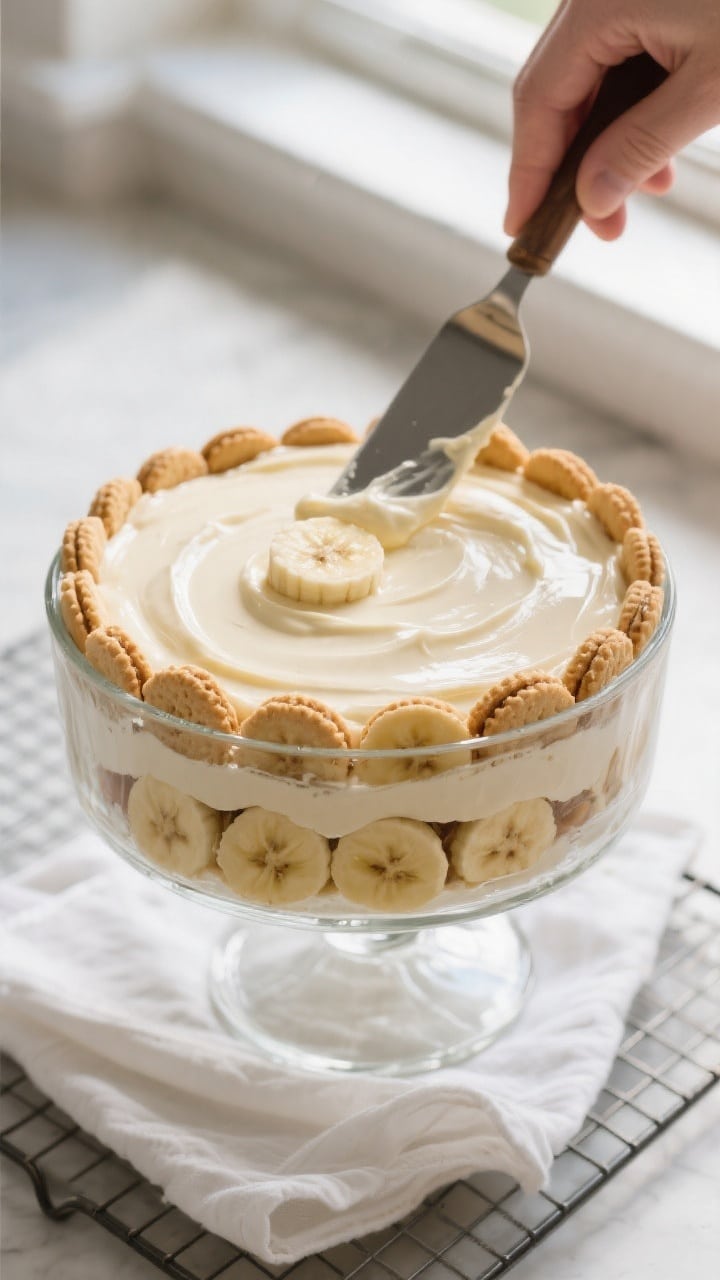
- Repeat the layers. Add another layer of wafers, another of bananas, and finish with the remaining pudding.Gently press the top with a spatula to settle any gaps.
- Top with whipped cream. Spread a thick, even layer of whipped cream or whipped topping over the pudding. If you like, swirl the top for a pretty finish.
- Chill to set. Cover loosely and refrigerate for at least 4 hours, ideally overnight. This rest time is key—it softens the wafers and blends the flavors.
- Garnish and serve. Right before serving, add crushed wafers, a few fresh banana slices, or a light sprinkle of cinnamon. Scoop into bowls or cut into squares.
FAQ
Can I make banana pudding a day ahead?
Yes. In fact, it’s better the next day. The wafers soften into a cake-like texture, and the flavors meld.
Keep it covered in the fridge until serving.
How do I keep bananas from browning?
Slice them right before layering and tuck them between pudding layers so less air reaches them. A light brush of lemon juice helps, but use a small amount to avoid a strong citrus taste.
Is instant pudding or cook-and-serve better?
Instant pudding is faster and sets reliably cold. Cook-and-serve has a richer, more custardy flavor, but you must cool it completely before assembling.
Choose based on time and taste preference.
Can I use shortbread cookies or graham crackers instead of vanilla wafers?
Yes. Shortbread adds a buttery note; grahams add a hint of honey. Texture will differ slightly, but both work well with bananas and vanilla pudding.
What size dish should I use?
A 9×13-inch dish is standard and serves 10–12.
A trifle bowl is great for presentation and makes the layers visible. Smaller dishes work too; just build fewer layers.
Can I reduce the sugar?
Sure. Use unsweetened whipped cream and rely on the pudding and bananas for sweetness.
You can also choose a low-sugar pudding mix.
How long does it need to chill?
At least 4 hours, but overnight is ideal. The extra time helps the wafers soften evenly and the layers set cleanly.
Why is my pudding runny?
Common causes are too much milk, under-whisking, or not chilling long enough. For instant pudding, measure milk carefully and whisk the full 2 minutes.
For cook-and-serve, cook until thick and cool completely.
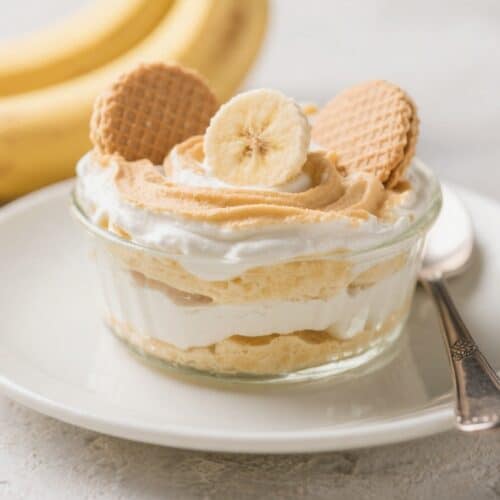
Can I make it as individual servings?
Absolutely. Layer the ingredients in small jars or cups. They chill faster, pack neatly for parties, and look charming on a dessert table.
What’s the best way to serve leftovers?
Scoop gently with a large spoon to keep layers intact.
If the top has softened, add a quick swirl of fresh whipped cream and a sprinkle of crushed wafers for texture.
In Conclusion
Banana Pudding Vanilla Wafer Dessert Classic Style is the kind of recipe that feels effortless yet special. It’s creamy, layered, and nostalgic, with just the right balance of sweetness and comfort. Make it the night before, keep it chilled, and let it quietly steal the show when it’s time for dessert.
Simple ingredients, easy steps, and a result everyone looks forward to—what more could you ask for?