These bars hit that perfect spot between sweet and salty, with a smooth chocolate top and a soft, nutty base. They come together fast, no oven needed, and they taste like a homemade version of a favorite candy. If you’ve got a bowl, a pan, and 15 minutes, you’ve got dessert.
Keep a batch in the fridge for quick snacks, lunchbox treats, or late-night cravings. They’re simple, reliable, and always a hit.
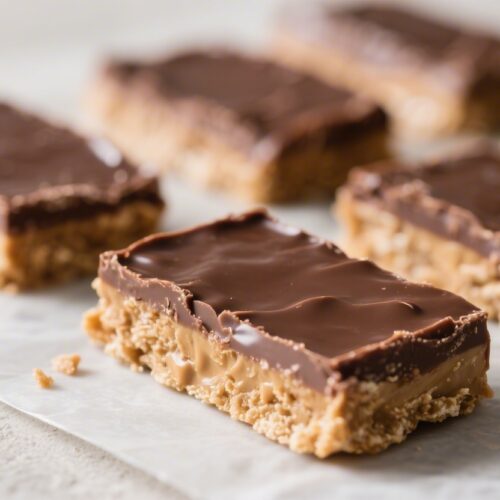
No Bake Chocolate Peanut Butter Bars - Simple, Sweet, and Satisfying
Ingredients
- 1 cup creamy peanut butter (no-stir style works best)
- 1/2 cup unsalted butter (or coconut oil for dairy-free)
- 1/4 teaspoon fine salt (omit if using salted butter)
- 1 3/4 cups powdered sugar (sift if lumpy)
- 2 cups graham cracker crumbs (about 14 full sheets; use gluten-free if needed)
- 1 teaspoon vanilla extract
- 1 1/2 cups semisweet chocolate chips (or chopped chocolate bars)
- 2 tablespoons peanut butter (for the topping)
- Flaky sea salt (optional, for finishing)
Instructions
- Prep the pan. Line an 8x8-inch baking pan with parchment so it overhangs on two sides.This makes lifting the bars out easy and keeps edges neat.
- Warm the base mixture. In a medium saucepan over low heat, melt the butter. Stir in 1 cup peanut butter and salt until smooth. Take off the heat.
- Sweeten and thicken. Add vanilla.Stir in powdered sugar until no streaks remain. Fold in graham cracker crumbs until evenly combined and it looks like soft cookie dough.
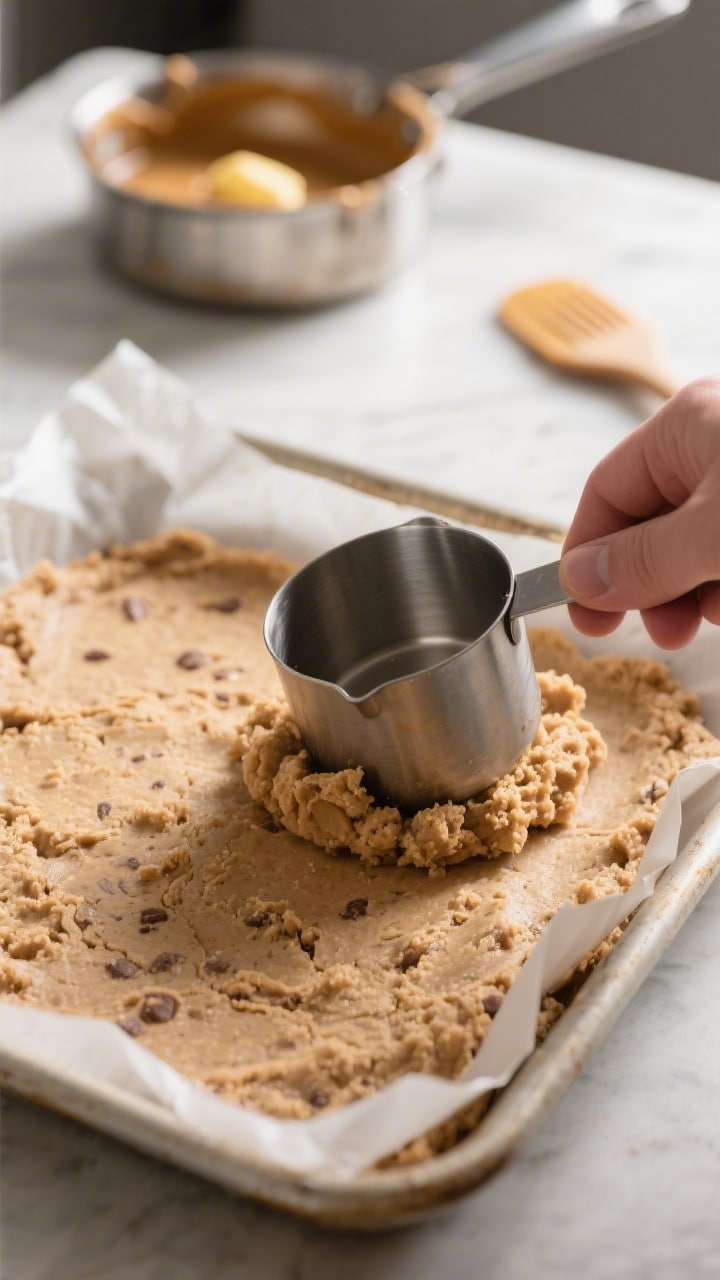
- Press the base. Transfer the mixture to the lined pan. Press firmly into an even layer using the bottom of a measuring cup.Pack the corners so the top layer adheres well.
- Make the topping. In a clean saucepan or microwave-safe bowl, gently melt chocolate chips and 2 tablespoons peanut butter, stirring until glossy. Avoid overheating to keep it smooth.
- Top and smooth. Pour the warm chocolate mixture over the base. Tilt and use an offset spatula to spread it into a thin, even layer.Tap the pan lightly on the counter to pop air bubbles.
- Chill to set. Refrigerate for 1–2 hours, until the topping is firm to the touch. For quicker slicing later, don’t freeze solid at this stage; you want it cold but not rock hard.
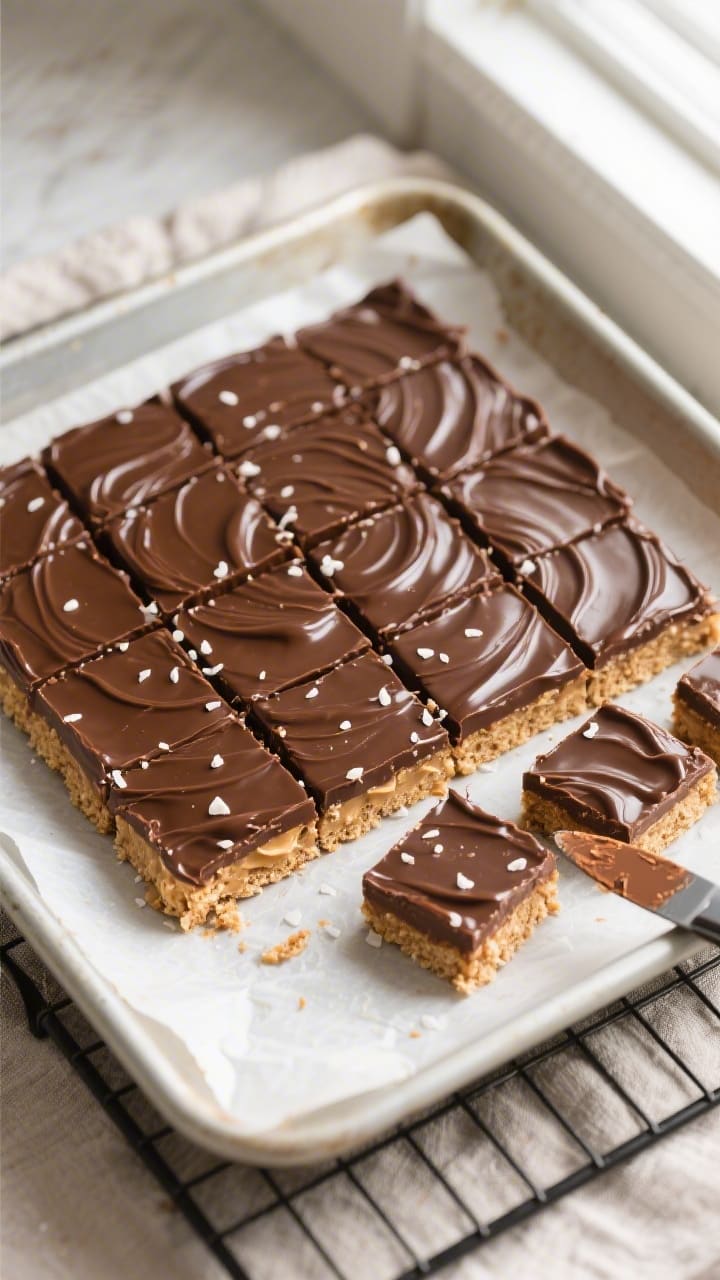
- Slice cleanly. Lift the slab out by the parchment. Warm a sharp knife under hot water, dry it, and cut into 16–25 bars.Wipe the knife between cuts for tidy edges. Sprinkle with flaky salt just before serving if you like.
What Makes This Special
These bars are all about minimal effort and maximum payoff. The base mixes crushed graham crackers with peanut butter and a touch of butter for that soft, sliceable texture.
The chocolate-peanut butter topping sets into a glossy layer that doesn’t shatter when you cut it. You can make them ahead, freeze them, and tweak them to fit your taste or pantry. They’re also naturally egg-free and easy to make gluten-free or dairy-free with a few swaps.
How to Store
- Refrigerator: Keep bars in an airtight container for up to 1 week. Layer with parchment to prevent sticking.
- Freezer: Freeze in a lidded container for up to 2 months.Thaw a few minutes at room temperature before eating for the best texture.
- Room temperature: For parties, they hold for 2–3 hours if the room is cool. In warm weather, the topping softens quickly, so keep them chilled until serving.
Why This is Good for You
These bars offer plant-based protein from peanut butter and some fiber from the graham crackers. They’re more satisfying than many store-bought sweets because the combo of protein and fat slows down the sugar rush.
With homemade treats, you also have control over ingredients: choose a lower-sugar chocolate, use natural peanut butter, or swap in whole-grain or gluten-free crumbs. While they’re still a dessert, a little goes a long way, and you can tailor them to your needs.
Common Mistakes to Avoid
- Using natural peanut butter that separates. Stir it very well or use a no-stir brand. Excess oil can make the base greasy and too soft.
- Overheating the chocolate. High heat scorches chocolate and makes it dull or gritty.Melt low and slow, stirring often.
- Skipping the parchment. Without a sling, the base can stick and crumble when you try to lift it out.
- Not packing the base. Loose crumbs mean the chocolate topping may separate when slicing. Press firmly for a cohesive layer.
- Cutting while too cold or too warm. If rock hard, the chocolate may crack; if too warm, it smears. Aim for chilled but sliceable, and use a warm, dry knife.
Recipe Variations
- Crunchy Lover’s: Stir 1/2 cup chopped roasted peanuts into the base for texture.
- Oatmeal Twist: Swap half the graham crumbs for quick oats.Pulse oats briefly in a blender for a finer crumb.
- Almond or Cashew: Use almond or cashew butter and crushed vanilla wafer cookies instead of grahams for a different flavor profile.
- Salted Caramel Drizzle: Once set, drizzle with warm caramel and a pinch of flaky salt. Chill again to firm up.
- Mocha Top: Add 1 teaspoon instant espresso powder to the melted chocolate for a subtle coffee note.
- Dairy-Free: Use coconut oil or vegan butter and dairy-free chocolate chips. Check graham crackers for dairy.
- Lower Sugar: Reduce powdered sugar to 1 1/4 cups and use 70% dark chocolate.The base will be slightly softer but still holds.
FAQ
Can I use natural peanut butter?
Yes, but choose a brand that’s thick and well-emulsified. Stir it thoroughly to incorporate any separated oil. If it’s very runny, add an extra 2–3 tablespoons of graham crumbs or a bit more powdered sugar to firm the base.
What can I use instead of graham crackers?
Digestive biscuits, vanilla wafers, or shortbread cookies all work.
For a less sweet option, try a mix of plain oat biscuits and a spoonful of honey to balance flavor. Crush to a fine, sandy texture for best results.
How do I prevent the chocolate from cracking when I slice?
Let the bars chill until just set, then cut with a warm, dry knife. Wipe between slices.
You can also add 1 teaspoon neutral oil to the chocolate topping for a slightly softer set.
Do these need to be refrigerated?
Refrigeration keeps the layers firm and the chocolate glossy. They can sit out briefly for serving, but long periods at room temperature—especially in warm climates—will make them soft.
Can I double the recipe?
Absolutely. Use a 9×13-inch pan and increase all ingredients by 2.
The chill time may be slightly longer. Slice into small squares; they’re rich.
How can I make them gluten-free?
Use certified gluten-free graham crackers or gluten-free digestive biscuits. Check your chocolate and peanut butter labels to ensure they’re gluten-free as well.
Why is my base crumbly?
It likely needs a touch more moisture.
Mix in another tablespoon of melted butter or a spoonful of peanut butter until it holds together when pressed. Also confirm your crumb texture is fine, not chunky.
Why is my topping dull or streaky?
This usually comes from overheating or moisture contact. Melt slowly, avoid steam or water drips, and stir gently until smooth.
It will set shiny if handled carefully.
Wrapping Up
No Bake Chocolate Peanut Butter Bars are the kind of recipe you’ll make once and memorize. They’re unfussy, crowd-pleasing, and endlessly adaptable. Keep the base-and-top formula, then play with flavors and textures to suit your mood.
Whether it’s a weekday sweet or a last-minute party dessert, this one always delivers. Store a stash in the fridge, and you’re never far from a perfect little square of chocolate-peanut butter bliss.