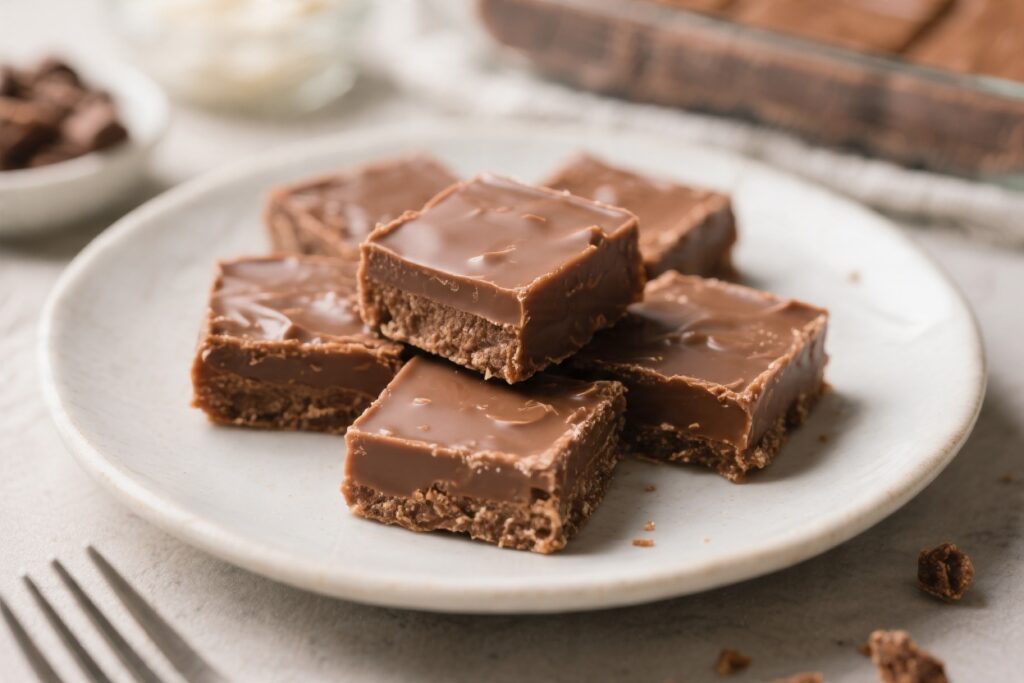
These fudge bars are what you make when you want something sweet, fast, and guaranteed to impress. No tricky steps, no fancy gear, and no waiting around for hours. Just four pantry-friendly ingredients that melt together into smooth, chocolaty goodness.
You can whip them up in minutes, pop them in the fridge, and have neat squares ready for snacking or sharing. They’re rich, satisfying, and surprisingly easy to customize.
What Makes This Special
These bars bring big payoff with almost no effort. They require minimal prep, and the base recipe is reliable every time.
The texture is dense and creamy, the flavor is pure chocolate, and the process is simple enough for beginners. They also store well, making them perfect for parties, holiday trays, or last-minute dessert cravings.
- Only four ingredients you probably already have.
- No baking and very little cleanup.
- Kid-friendly to make and eat.
- Endlessly customizable with mix-ins and toppings.
Storage Instructions
- Room temperature: Keep in an airtight container for up to 3 days if your kitchen is cool.
Separate layers with parchment to prevent sticking.
- Refrigerator: Store up to 2 weeks in a sealed container. Let pieces sit out for 10–15 minutes before serving so the texture softens.
- Freezer: Freeze for up to 2 months. Wrap the slab tightly in parchment and foil, or place cut squares in a freezer bag with parchment between layers.
Thaw in the fridge overnight, then bring to room temperature before serving.
Benefits of This Recipe
- Fast and foolproof: Minimal steps, no special techniques, and consistent results.
- Budget-friendly: Four common ingredients create a luxury-feeling treat.
- Great for gifting: Travels well, looks polished, and can be portioned neatly.
- Flexible flavors: Works with different chocolates and mix-ins to fit any preference.
- Gluten-free friendly: Naturally gluten-free when using certified GF chocolate and add-ins.
What Not to Do
- Don’t rush the melting. High heat can seize or burn the chocolate. Keep it low and steady.
- Don’t skip the parchment. Lining the pan makes removal and slicing far easier.
- Don’t add water-based liquids. A splash of milk or water can cause the chocolate to seize. Stick to extract and oil-based add-ins.
- Don’t overmix once melted. Overworking can dull the shine and affect texture.
- Don’t cut before it’s set. Warm fudge will smear and crumble.
Chill first for clean slices.
Alternatives
- Chocolate options: Swap semisweet for milk chocolate (sweeter) or dark chocolate (richer, less sweet). A 60–70% dark bar gives a deep cocoa flavor.
- Dairy-free version: Use dairy-free chocolate and coconut-sweetened condensed milk. Replace butter with 1–2 tablespoons coconut oil for a silky texture and light coconut note.
- Flavor twists: Add 1/2 teaspoon espresso powder for a mocha vibe, 1 teaspoon orange zest for brightness, or 1/2 teaspoon peppermint extract for a mint-chocolate version.
- Swirls and layers: Melt 1/4 cup peanut butter or almond butter and swirl over the top before chilling.
Or press a thin layer of crushed cookies or graham crackers into the bottom for crunch.
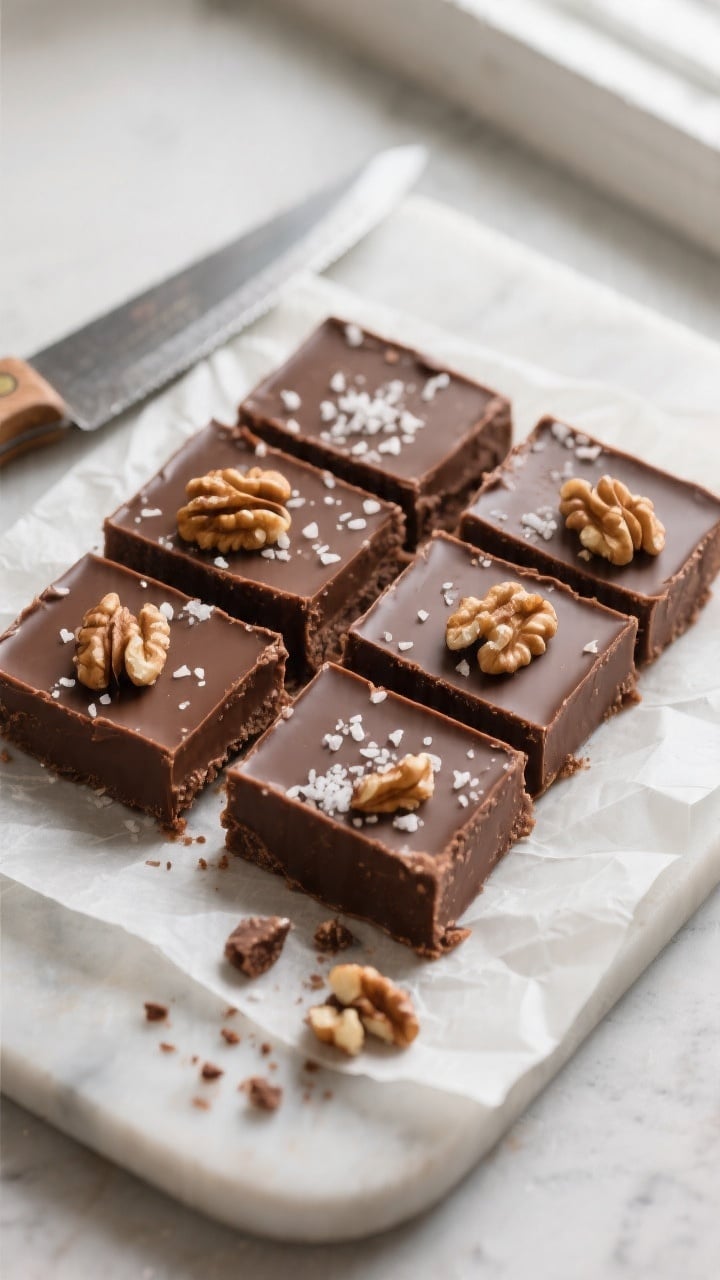
- Toppings: Finish with flaky sea salt, toasted coconut, or finely chopped nuts. Press gently so they adhere.
Quick 4 Ingredient Fudge Bars – Simple, Creamy, and Crowd-Pleasing
Ingredients
- 2 cups (340 g) semisweet chocolate chips or chopped chocolate
- 1 can (14 oz/397 g) sweetened condensed milk
- 2 tablespoons unsalted butter (plus a little extra for greasing)
- 1 teaspoon vanilla extract
Instructions
- Prep the pan. Line an 8×8-inch (20×20 cm) baking pan with parchment, leaving overhang on two sides for easy lifting. Lightly grease the parchment with butter to prevent sticking.
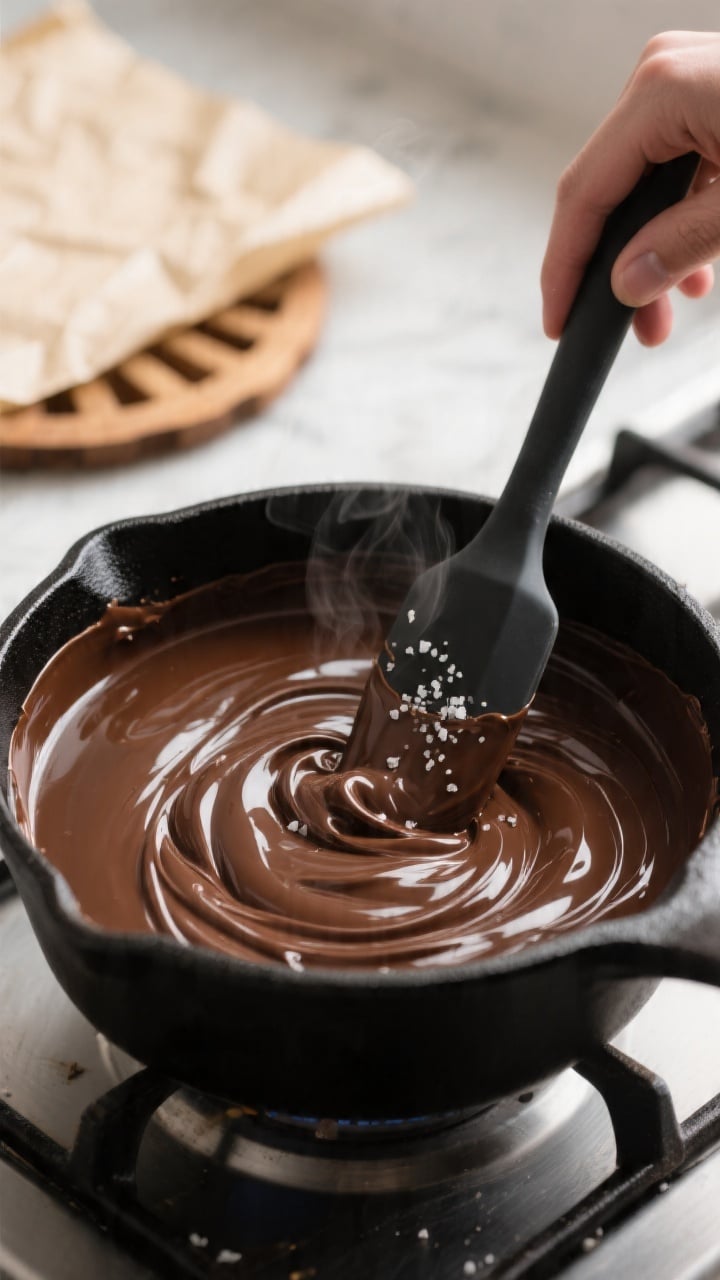
- Set up gentle heat. Add the chocolate chips, sweetened condensed milk, and butter to a medium saucepan.Place over low heat. Stir slowly and constantly with a rubber spatula to prevent scorching.
- Melt until smooth. Keep the heat low. As the mixture softens, scrape the bottom and sides so everything melts evenly.When it’s glossy and lump-free, remove from heat.
- Add vanilla. Stir in the vanilla extract. If you like a balanced sweetness, add a small pinch of salt here to round out the flavors.
- Customize (optional). Fold in 1/2–3/4 cup of your favorite mix-ins: chopped walnuts or pecans, mini marshmallows, or cookie bits. Don’t overmix or the fudge may lose its silky finish.
- Spread and smooth. Scrape the mixture into the prepared pan.Use the spatula to press it into the corners and smooth the top. If using a topping like flaky sea salt or sprinkles, add it now.
- Chill. Refrigerate for at least 2 hours, or until fully set. For a quicker set, place in the freezer for 30–40 minutes, but avoid freezing long-term before slicing to prevent condensation later.
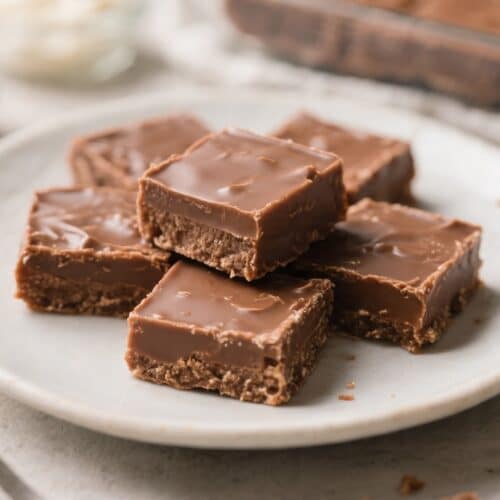
- Slice cleanly. Lift the fudge out using the parchment overhang.Warm a knife under hot water, dry it, then cut into neat squares. Wipe the knife between cuts for sharp edges.
- Serve and store. Enjoy at cool room temperature for the creamiest bite. Store the rest as directed below.
FAQ
Can I make this in the microwave?
Yes. Combine chocolate, sweetened condensed milk, and butter in a microwave-safe bowl.
Heat in 20–30 second bursts at 50% power, stirring between each, until smooth. Add vanilla, then proceed as usual. Keep power low to avoid scorching.
Why did my fudge turn grainy?
Graininess usually comes from overheating or moisture getting into the chocolate.
Use low heat, stir gently, and avoid adding water-based liquids. If you see signs of seizing, take the pan off the heat immediately and stir until it loosens.
How do I cut perfect squares?
Chill until firm, then use a long, sharp knife warmed under hot water and dried. Press down in one clean motion rather than sawing.
Wipe the blade between cuts. A bench scraper also works well for straight edges.
Can I double the recipe?
Absolutely. Use a 9×13-inch pan for a double batch.
Watch the melting stage carefully since a larger quantity can trap more heat; keep the burner low and stir constantly.
Is there a way to make it less sweet?
Use higher-cocoa dark chocolate (70% or so) and add a pinch of salt. You can also fold in toasted nuts to add balance and texture without extra sweetness.
Do I have to use butter?
Butter adds smoothness and flavor, but you can replace it with coconut oil for a dairy-free option or omit it entirely in a pinch. The fudge will still set, though it may be slightly firmer.
How long does it take to set?
In the fridge, expect around 2 hours.
For a quick set, 30–40 minutes in the freezer works, but transfer to the fridge afterward to avoid surface condensation.
Can I make this ahead for a party?
Yes. Prepare up to a week in advance and refrigerate in an airtight container. Cut the day you serve for the cleanest edges, or pre-cut and separate layers with parchment.
What if I don’t have vanilla extract?
You can skip it.
The fudge will still taste rich and chocolaty. If you want a boost, try almond extract (use less—about 1/4 teaspoon) or a pinch of espresso powder.
Can I add alcohol for flavor?
A small amount of liquor like bourbon or Irish cream can work, but keep it minimal—about 1 tablespoon—and add it off heat to avoid seizing. Alcohol is water-based, so too much can disrupt the texture.
Wrapping Up
Quick 4 Ingredient Fudge Bars deliver classic fudge flavor without fuss.
With just a saucepan, a handful of ingredients, and a little chill time, you get smooth, chocolatey squares that always hit the spot. Keep the base recipe on hand, then riff with your favorite add-ins and toppings. Whether it’s a weeknight treat or a holiday spread, this one never disappoints.