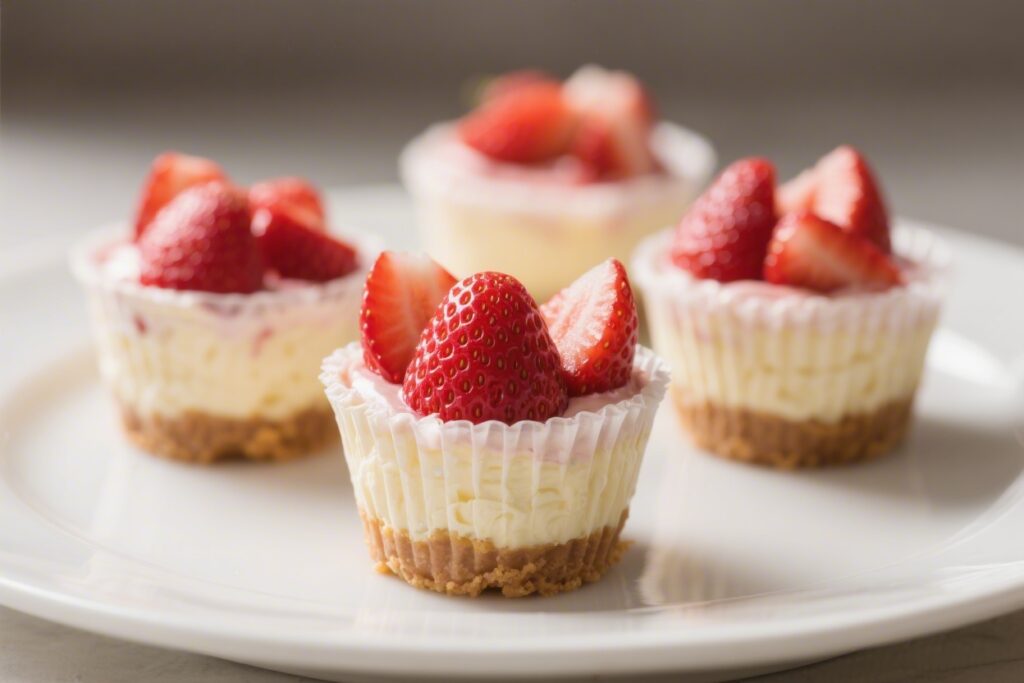
No bake strawberry cheesecake cups are the kind of dessert you whip up when you want something impressive without turning on the oven. They’re creamy, lightly sweet, and topped with juicy strawberries that taste like summer. Because they’re portioned in cups, they look polished and travel well for parties, picnics, or a quiet night in.
You can make them ahead, stash them in the fridge, and serve when you’re ready. The best part: the ingredients are simple, and the steps are easy enough for a beginner.
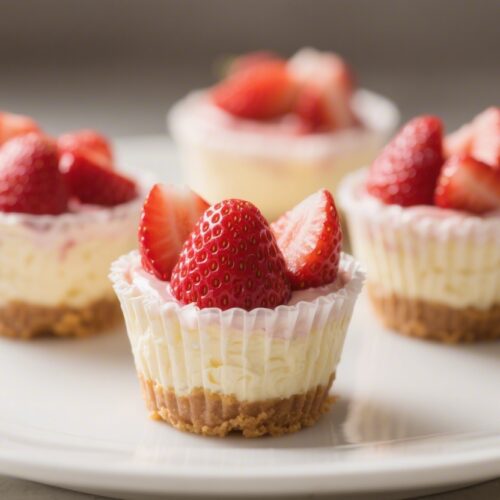
No Bake Strawberry Cheesecake Cups – Creamy, Fresh, and Ready in Minutes
Ingredients
- Graham crackers or digestive biscuits – about 1 1/2 cups (finely crushed)
- Unsalted butter – 5 tablespoons, melted
- Granulated sugar – 2 tablespoons (for the crust)
- Cream cheese – 16 ounces (full-fat, softened to room temperature)
- Powdered sugar – 1/2 to 3/4 cup (to taste)
- Pure vanilla extract – 1 teaspoon
- Lemon juice – 1 tablespoon (fresh is best)
- Heavy whipping cream – 1 cup, cold
- Fresh strawberries – 2 cups, hulled and sliced
- Strawberry jam or preserves – 1/3 cup (loosen with a splash of water if needed)
- Pinch of salt – to balance sweetness
- Optional garnishes – lemon zest, crushed freeze-dried strawberries, or mint leaves
- Serving cups – 8 to 10 small glass jars, ramekins, or clear plastic dessert cups
Instructions
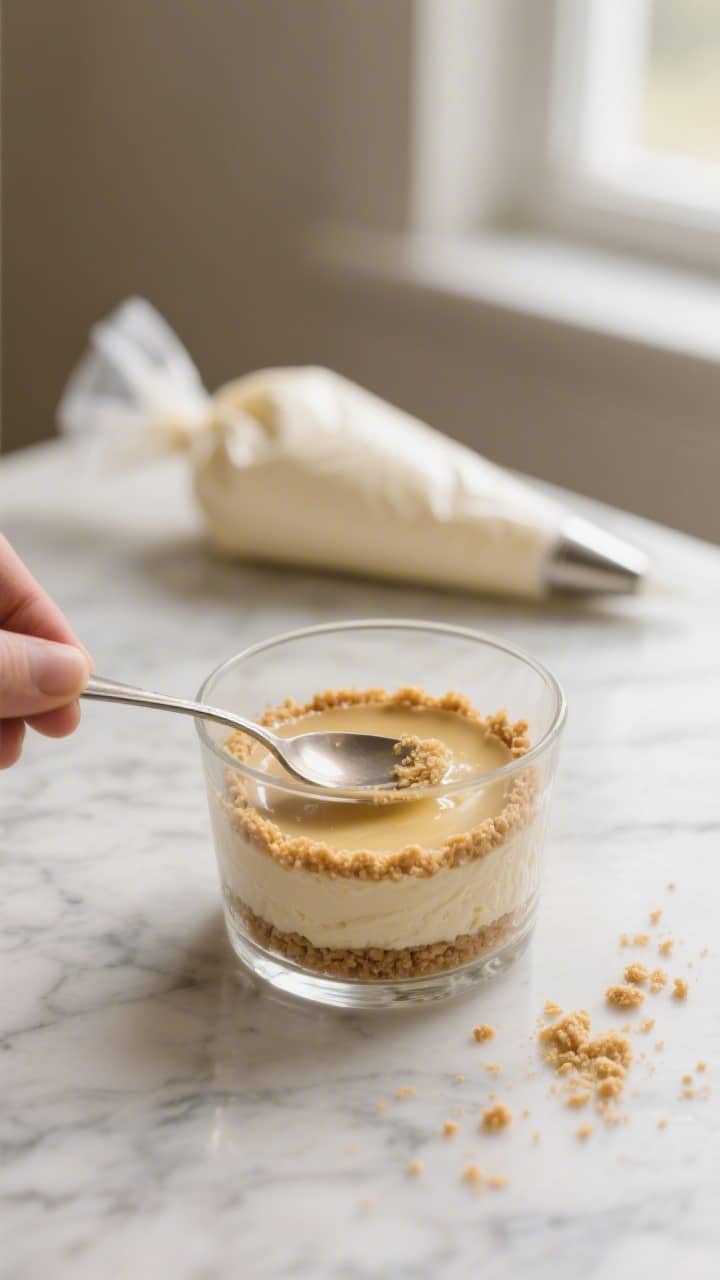
- Make the crust. In a bowl, stir the crushed crackers, melted butter, and granulated sugar until the crumbs look like wet sand.They should clump when pressed. If too dry, add another teaspoon of melted butter.
- Portion the crust. Spoon 2 to 3 tablespoons of crumb mixture into each cup. Press down firmly with the back of a spoon or a small glass to form an even base. Chill for 10 minutes while you make the filling.
- Beat the cream cheese. In a large mixing bowl, beat softened cream cheese with powdered sugar, vanilla, lemon juice, and a pinch of salt until smooth and fluffy, about 2 minutes.Scrape the bowl to avoid lumps.
- Whip the cream. In a separate cold bowl, whip the heavy cream to medium-stiff peaks. Don’t overbeat; you want it billowy and smooth, not grainy.
- Fold to finish the filling. Gently fold the whipped cream into the cream cheese mixture in two additions until no streaks remain. The filling should be light, creamy, and able to hold its shape.
- Fill the cups. Pipe or spoon the cheesecake filling over the chilled crusts, leaving space at the top for strawberries.Smooth the tops with a small offset spatula or the back of a spoon.
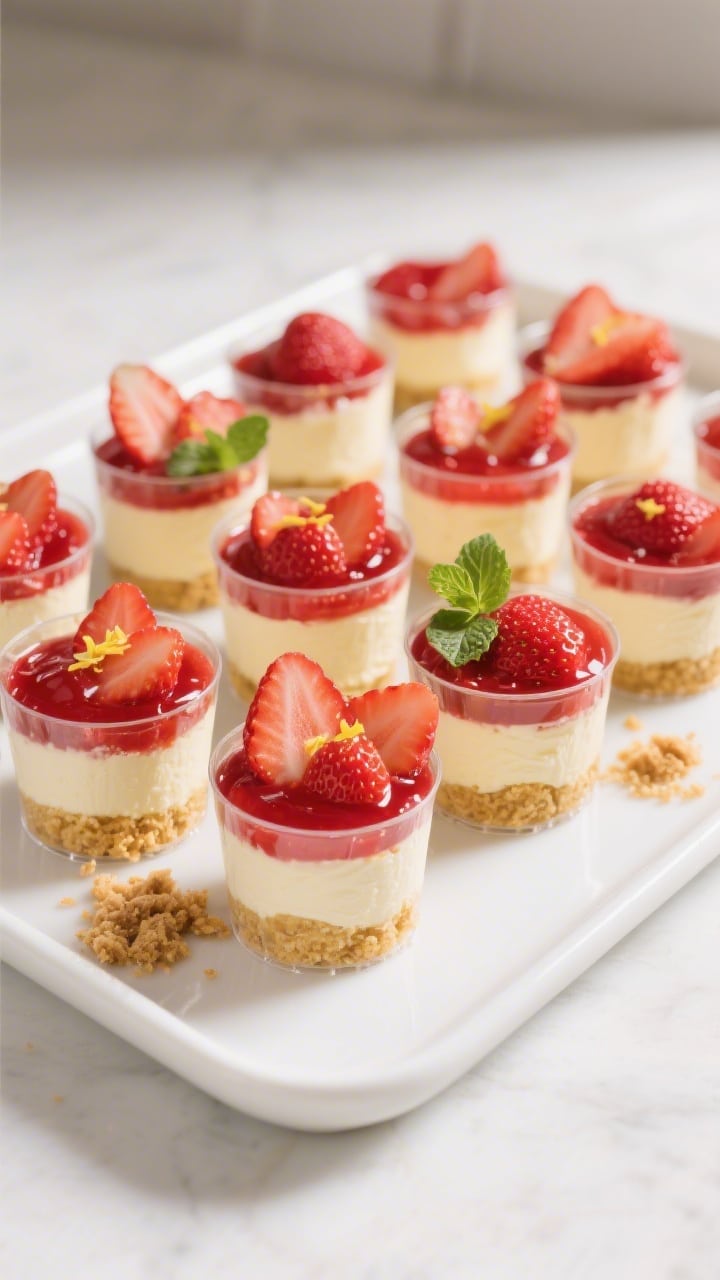
- Strawberry layer. Toss sliced strawberries with a teaspoon of lemon juice and, if your berries aren’t very sweet, a teaspoon of powdered sugar. Spoon a generous layer over each cup.
- Glossy finish. Warm the strawberry jam with a splash of water until pourable. Drizzle or brush a little over the berries for shine and extra flavor.You only need a thin layer.
- Chill to set. Cover the cups and refrigerate for at least 1 hour (2–3 hours is better). The flavors meld, and the filling firms up for cleaner bites.
- Garnish and serve. Right before serving, top with lemon zest, a few fine crumbs, or a mint leaf for color. Serve cold.
Why This Recipe Works
These cheesecake cups rely on a silky cream cheese base lightened with whipped cream, so you get that classic tang without heaviness. The crumbly cookie crust adds texture and a buttery note that balances the berries.
Fresh strawberries bring brightness, while a quick jam or coulis gives a glossy finish that won’t weep. Because there’s no baking, the cream stays cool and smooth, and the flavors stay clean. Portioning in cups keeps the crust crisp and the layers neat.
How to Store
- Refrigerate covered for up to 3 days.The crust stays crisp if the cups are well sealed.
- Add berries close to serving if you need longer than 24 hours. Store the cheesecake base separately and top the fruit the day of.
- Do not freeze the assembled cups with fresh berries. The texture becomes icy and the fruit weeps.
- Travel tip: Keep cups chilled in a cooler bag with ice packs.Add the jam glaze after arrival for the best look.
Benefits of This Recipe
- No oven needed: Perfect for warm days or small kitchens.
- Beginner-friendly: Simple steps, minimal tools, and forgiving ratios.
- Make-ahead: Sets in the fridge and tastes even better after a rest.
- Portion control: Individual cups help with serving and reduce mess.
- Flexible sweetness: Adjust the powdered sugar to your taste and the berries’ ripeness.
What Not to Do
- Don’t use low-fat cream cheese. It won’t set as well and can taste chalky.
- Don’t skip room-temperature cream cheese. Cold blocks create lumps that never fully smooth out.
- Don’t overwhip the cream. Grainy cream deflates when folded, making the filling dense.
- Don’t overload with liquid. Too much jam or juicy berries can make the layers runny. Use a light glaze.
- Don’t skip the chill time. The filling needs at least an hour to firm up properly.
Variations You Can Try
- Chocolate cookie crust: Swap graham crackers for chocolate wafers or Oreos (skip the added sugar).
- Lemon cheesecake cups: Add 1–2 teaspoons of lemon zest to the filling and top with a lemon-strawberry mix.
- Greek yogurt swirl: Fold in 1/2 cup thick Greek yogurt for extra tang and lighter texture. Add a bit more powdered sugar to balance.
- Balsamic strawberries: Toss the berries with a tiny splash of good balsamic and a pinch of black pepper for a grown-up twist.
- Berry medley: Mix strawberries with raspberries and blueberries.Glaze lightly to keep colors vibrant.
- Mini dessert shooters: Layer in shot glasses for bite-sized party portions.
- Dairy-free: Use a plant-based cream cheese and coconut whipping cream; choose a vegan cookie for the crust.
FAQ
Can I make these a day ahead?
Yes. Assemble the crust and filling, then chill overnight. For the best texture and appearance, add the fresh strawberry layer and glaze the day you plan to serve.
What if I don’t have a mixer?
You can use a sturdy whisk.
Make sure the cream cheese is very soft and whisk until silky. For the whipped cream, a chilled bowl and a balloon whisk work, but it takes elbow grease. A handheld frother can help.
How do I crush the crackers without a food processor?
Place them in a zip-top bag and roll with a rolling pin or a heavy can until fine.
Press out extra air before sealing so the bag doesn’t burst.
Can I reduce the sugar?
Absolutely. Start with 1/2 cup powdered sugar in the filling and taste. If your berries are very sweet, you might not need the full amount or any sugar in the fruit layer.
Why is my filling runny?
Usually it’s over-softened cream cheese or under-whipped cream.
Next time, whip the cream to medium-stiff peaks and fold gently. If you added citrus or jam directly into the whipped cream, that can also loosen it—mix flavorings into the cream cheese base first.
What cups work best?
Small glass jars, 6–8 ounce ramekins, or clear dessert cups all work well. Clear sides show off the layers and help with portioning.
Can I use frozen strawberries?
You can for a compote-style topping, but they’re too soft for fresh slices.
Thaw, drain well, and simmer briefly with a little sugar and lemon, then cool completely before topping.
In Conclusion
No bake strawberry cheesecake cups bring together creamy filling, buttery crumbs, and bright berries in a format that’s easy to prep and easy to love. They’re flexible, make-ahead friendly, and look beautiful with minimal effort. Keep the ingredients simple, give the cups time to chill, and finish with a glossy berry layer.
You’ll have a dessert that feels special any night of the week.